Onimusha: Way of the Sword Walkthrough — The Curse of Kiyomizu-zaka Slope
The Curse of Kiyomizu-zaka Slope walkthrough — opening Malice Barriers with Oni Strength, destroying the Malice Plants, and the Byakue boss fight.
FAQ
How do I open the red Malice Barriers?
What are Malice Plants?
Who is the boss of this chapter?
What does this chapter reward?
The Curse of Kiyomizu-zaka Slope is the sixth story chapter of Onimusha: Way of the Sword — the first built entirely around the Oni Strength ability the previous chapter awarded. One Malice Barrier and four Malice Plants stand between Musashi and a poisoned city block, with Byakue, the Hundred Defilements erupting mid-chapter. Previous chapter: Careful What You Wish For.
Go east: Oni Strength opens the slope
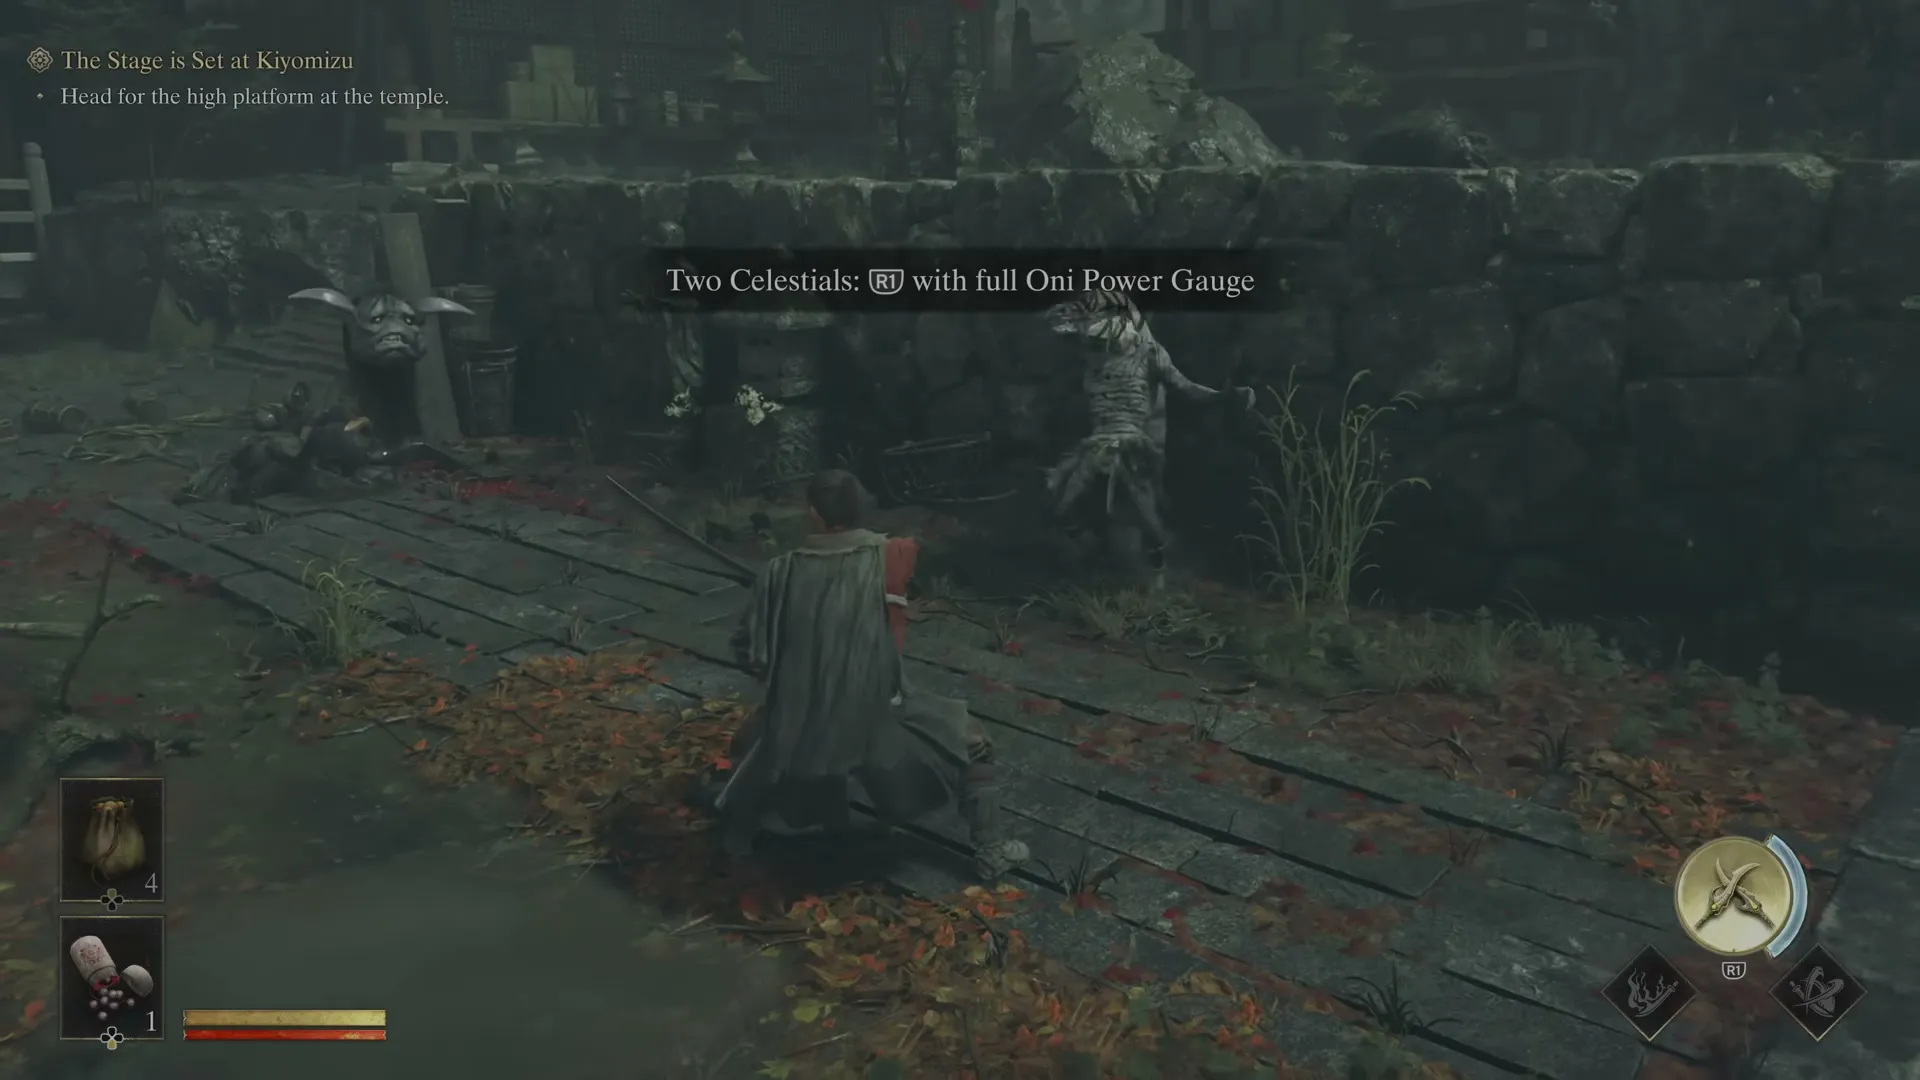
The golden marker sits just down the street east of Rokudo Temple. The chapter is the Oni Strength tutorial in disguise:
- Against barriers — approach the red-and-black gate on the slope and hold the input to tear it open. Gone for good, from the map and the game.
- Against enemies — shield Genma debut here. The Oni Strength input smashes through their guard and typically staggers them for a punish window.
Destroy the Malice Plants
Past the barrier, sidle through the opening onto the slope: a sea of miasma below, plants pouring it in above. The miasma deals damage over time — the route’s whole logic is roofs and high ground, sprinting the gaps. The task list is four plants and two Rifts.
- Plant 1 — sprint the street to the ladder on the right, climb, and turn right on the roof. Kill the guards and attack the weak point on the plant’s back.
- Plant 2 — the first plant’s death reveals a bridge to the rooftops across. Snipe the rooftop archer with the Oni Bow, drop into the yard (a shield Genma waits — Oni Strength), then take the watchtower barrier apart with Oni Strength and climb. The second plant sits on a roof across the street; the street Rift below is spawning enemies — you can strike and guard mid-climb. Once the plant is destroyed, drop down, clear the remaining enemies, and absorb the street Rift.
- Plant 3 — back up the earlier ladder, now unblocked: cross the bridge, up the next ladder, and the third plant is in reach — but approaching it opens a Rift that dumps Byakue into the arena. Destroy the plant first; nobody wants a boss fight inside damage-over-time fog.
How to beat Byakue, the Hundred Defilements
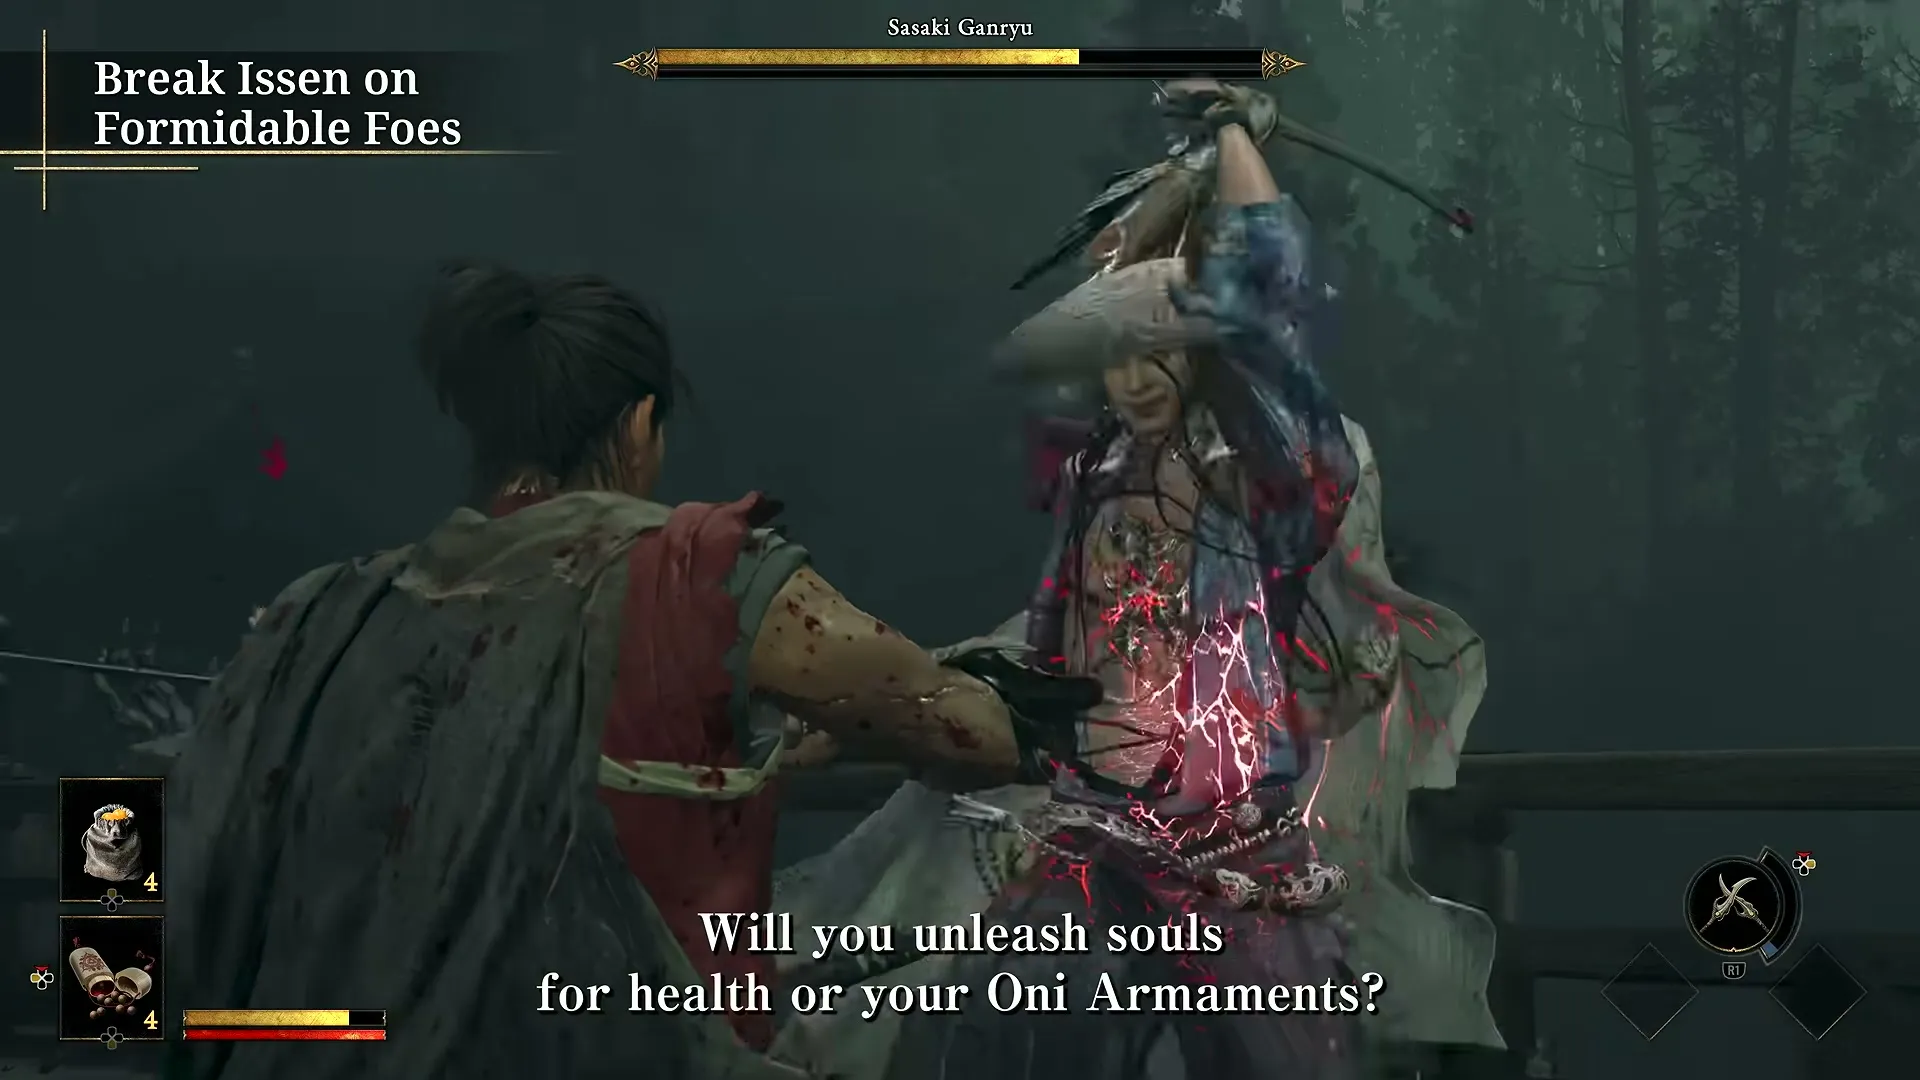
Byakue is a large, axe-wielding Genma that moves with animal-like dexterity — fast, bounding, and hard to read. The chapter is deliberately placed where your full defensive kit exists: Parry against weapon attacks, Dodge against its unarmed rush and foot dives, Deflect for Stamina, and Issen when you have the read — the Issen guide covers the risk/reward of each. Its complete arsenal — Drag and Slash, the Triple Combo and its variations, Big Swing, Jump Slam, Shoulder Rush, Big Slam, Charge, and the Foot Dive — is countered move-by-move on the Byakue boss guide. When it circles at range sizing you up, bow shots chip its bars and usually bait it back in.
The kill pays Byakue’s Talisman x2 — Oni Gauntlet upgrade material at any Spirit Mirror, with a further story use later.
Absorb the Rift and clear the district
With Byakue down, absorb its Rift for Malicite x2 and a Malicite Mass. The barrier beyond collapses, exposing the fourth and final plant; destroying it pulls the Malice out of the district — the crimson barriers dissolve and the streets fill with people again.
The next mission is A Strength in Refuge (chapter page not yet written — see the walkthrough hub).
What comes next
- The walkthrough hub collects all written chapter pages; the chapter list numbers the full 22.
- Farming for the trophy list? The two-playthrough Carnage plan starts with chapters like this one — see the difficulty and Carnage guide.
- Upgrade materials banked here (Tamahagane, Cotton Cloth) feed the enhancement menu opened in The Oni’s Apprentice.
Related Articles

guides
Onimusha: Way of the Sword — All Outfits and How to Unlock Them
Every outfit in Onimusha: Way of the Sword and its unlock condition — story rewards, side content, pre-order and Deluxe bonuses.
guides
Onimusha: Way of the Sword — New Game+ and Post-Game Guide
What carries into New Game+ in Onimusha: Way of the Sword, what Carnage changes, and the post-game Boss Rematch mode.
guides
Onimusha: Way of the Sword — Side Content Guide: Mysteries and Chance Encounters
How the side-content systems of Onimusha: Way of the Sword work — 8 Mysteries of Kyoto and 18 Chance Encounters, and what they reward.
Was this helpful?
Thanks for the feedback!