Dokyo — Way of the Sword Boss Guide (Fight 17)
How to beat Dokyo, fight 17 of 18 in Onimusha: Way of the Sword: a gimmick-driven chase across two phases, every trick she throws, and the rock check in phase two.
FAQ
How hard is the Dokyo boss fight?
What is the Dokyo fight's basic loop?
What kills you in Dokyo phase two?
How do I hit the real Dokyo when she doubles?
This is the boss guide for Dokyo in Onimusha: Way of the Sword — fight 17 of 18, the monster-maker’s own encounter just before the final boss. Her lore and laboratory are covered on the character page.

Onimusha Curious Cases: Dokyo — official Capcom profile
The fight at a glance
| Stat | Value |
|---|---|
| Roster position | Fight 17 of 18 |
| Difficulty (PowerPyx) | 2.5/10 |
| Phases | 2 |
| Fight style | Gimmick-driven chase — she runs, you pursue |
The basic loop
Dokyo does not stand and trade blows. She spends most of both phases sprinting around the arena, keeping her distance and peppering you with an assortment of tricks — this is fundamentally a chase, and your job is to close the gap whenever you can to land a few quick hits. She then teleports elsewhere and starts over with a fresh set, thrown in random order.
Phase one: the trick list
- Spiky balls — countered, dodged through, or simply outrun.
- Single-direction projectiles — a different projectile type fired in one direction.
- Electrified barriers — she spins them up and hurls them at you.
- The golden circle and the balloon — she conjures a golden circle around herself with a floating balloon on the verge of exploding. Draw the Oni bow and shoot the balloon down before it detonates: she drops to the ground, open to regular attacks.
- The fire-turret row — she summons a row of metal fire turrets in a vertical line across the arena. Dodge the turrets and their fire by standing between two of them; on Carnage that fire hits considerably harder.
- The giant spiky ball — hurled your way, and deflectable straight back at her.
- The double and the net — she conjures a double of herself, and both copies charge you together wielding a giant electrified net. Activate Oni Vision to pick out the real Dokyo — she always glows gold — and shoot her specifically. The Oni Vision guide covers the ability itself.
- The mask lock — she locks you in place and surrounds you with mask copies that turn into blue explosive enemies. Once you regain control, run behind her and angle the camera so those explosive enemies collide with her instead of you.
Whatever the trick, the loop stays the same: dodge, close in, land a few hits, repeat.
Phase two: the wrinkles
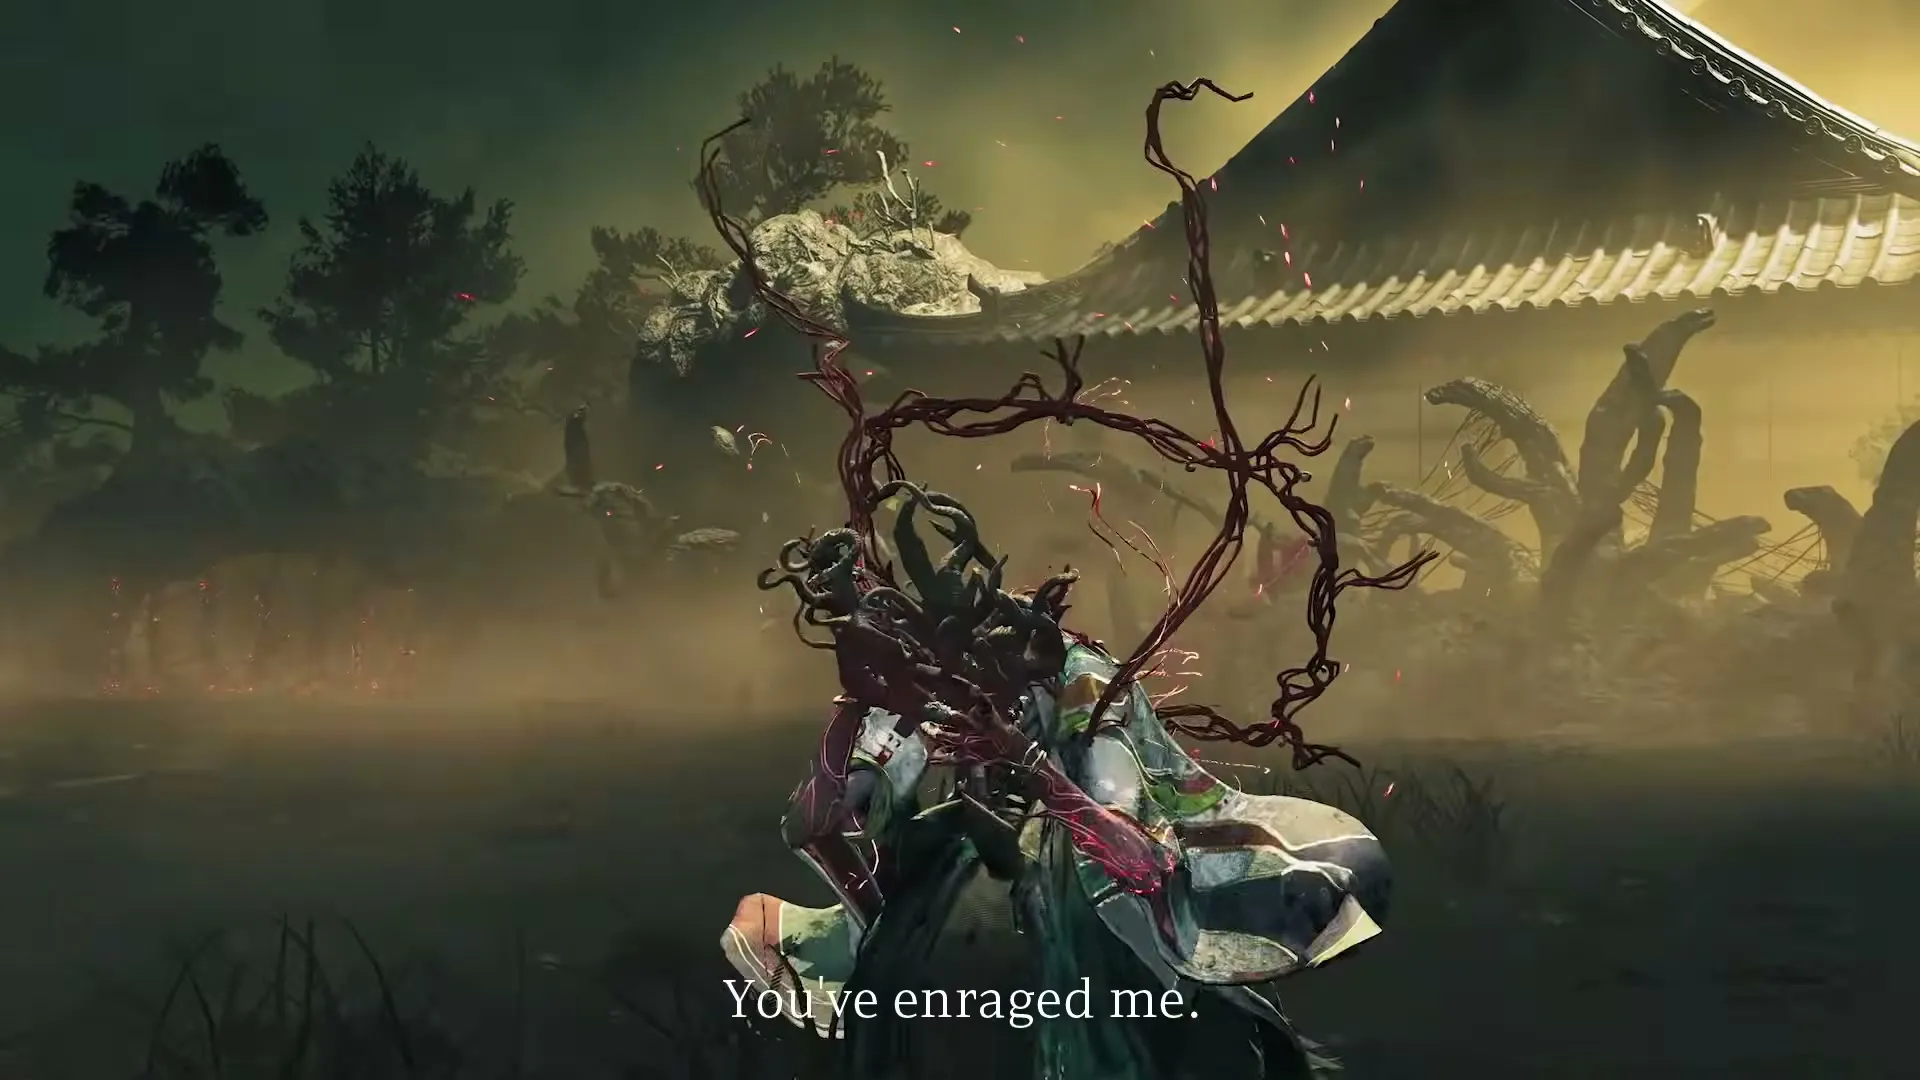
Phase two shifts her into an enraged, enhanced state. Most tricks carry over; the changes below are what matter:
- The constant orb barrage. She now fires orbs at you on top of her usual tricks. Dodging through the barrage builds up a gauge that lets you land a special attack once it is full (the source names a specific input that our extraction stripped — check the in-game prompt).
- The spiky ball, twice. Deflect it back and she now returns it to you once — deflect it a second time before it actually damages her.
- The red mask enemy. Alongside the usual blue explosive enemies, she can summon a red one that does not detonate on contact. That one needs to be shot down with the Oni bow.
- The blink-and-swing. She blinks into existence right beside you out of thin air and swings her staff. The tell is timing: if she is taking noticeably longer than usual to start her next set of tricks, she is probably winding this up — stay ready to deflect, or parry if safer.
- The planet-wreath kill check. Her single most dangerous attack: she soars into the sky wreathed in what looks like a miniature planet and shatters every rock in the arena except one. Spot the rock left standing without cracks and get behind it immediately — failing to do so is an outright kill on Carnage. Once the rocks come down, grab a shard from the wreckage and hurl it at her for extra damage.
Where this sits on the road
Dokyo is fight 17; the final boss guide covers what follows. For the full roster, see the boss list — and if you are on the Platinum push, her fight is one of the Boss Rematch opponents swept by the Glutton for Punishment trophy on the trophy roadmap.
Related Articles

guides
Onimusha: Way of the Sword — All Outfits and How to Unlock Them
Every outfit in Onimusha: Way of the Sword and its unlock condition — story rewards, side content, pre-order and Deluxe bonuses.
guides
Onimusha: Way of the Sword — New Game+ and Post-Game Guide
What carries into New Game+ in Onimusha: Way of the Sword, what Carnage changes, and the post-game Boss Rematch mode.
guides
Onimusha: Way of the Sword — Side Content Guide: Mysteries and Chance Encounters
How the side-content systems of Onimusha: Way of the Sword work — 8 Mysteries of Kyoto and 18 Chance Encounters, and what they reward.
Was this helpful?
Thanks for the feedback!