Onimusha: Way of the Sword Walkthrough — Kyoto, Corrupted
Kyoto, Corrupted walkthrough — the open city, the Johari Shard, closing the western and northern Rifts, charm upgrades, and Shizuka's awakening.
FAQ
What is the Johari Shard?
Where do I upgrade charms?
What are the new enemies in this chapter?
What does this chapter reward?
Kyoto, Corrupted is the third story chapter of Onimusha: Way of the Sword and the one that opens Eastern Kyoto into a small open world. The mission structure is simple — close two Rifts, one west and one north of the temple — but along the way the game hands over its navigation, outfit, and charm-upgrade systems, seeds its creepiest side-story, and ends with the campaign’s first big lore reveal. Previous chapter: The Stage is Set at Kiyomizu.
Back at the shrine: the Johari Shard and the Tasuki Sash
At the Kyoto shrine, Takamura commends the temple work, mentions he may know the woman in the Gauntlet — and that she stays asleep until more Malice is cleared. The assignment: two Rifts, west and north. Two unlocks come with it:
- Johari Shard — hold the Gauntlet input, tap Oni Power, and the shard flies off leaving a golden trail along the fastest route to your marker. Trails fade; re-cast as needed.
- Tasuki Sash — an outfit item. Spirit Mirrors gain the Change Appearance option covering outfits for Musashi, Shizuka, and Okuni, plus Gauntlet and Sword skins.
Open the map to see both Rifts marked and note the Concentrated Malice — the crimson fog regions that damage you on contact. They cannot be entered safely yet; treat them as walls for now.
Charm of the Healer and Enma’s Hall
On leaving the map menu the game grants the Charm of the Healer earned by the previous chapter (+4% health restoration; charms are equipped from the Equipment tab). Upgrading happens at Enma’s Hall in the temple courtyard: offer items to earn Favor, spend Favor plus Red Souls on upgrades — the Healer’s first step takes it to 6%. The full charm roster is in the charms guide.
Close the Western Rift
Genma structures now wall off the streets, herding you through the intended area. Heading west:
- Citizen rescues — NPCs marked with an exclamation point are under attack; kill the Genma in time and they reward an item. Wait too long and the citizen dies.
- Street loot — stalls and houses hide items (Millet, Unrefined Sake — both Enma offerings) and loot boxes; ladders reach the hidden ones.
- Optional Treasure chest — east of the Rift, a house with a large white flag: in through the front, out the back window, and the backyard chest holds a Power Stone (all stones tracked here).
The Rift yard spawns Kubi Akari — flying Genma heads that spit fireballs. Dodge the shots or trade at range with the Oni Bow; when their cheeks swell and glow blue, that’s the weak point. Enlarged Kubi Akari charge a grab — shoot the growth or counter it. Clear every wave the Rift spawns, then absorb the Rift itself for Malicite x2 (equipment enhancement material). The house beyond holds a Soul Squeezer, a Watermelon, and a loot box.
Close the Northern Rift
Follow the shard north and east. Optional finds along the way:
- A bridge Malice Barrier hides an Oni Glyph (by a broken cart) that summons a chest with a Mirror of Revival — the glyph brings the chest to you, so the barrier itself can stay shut; the item sacrifices itself to revive Musashi on death.
- A bamboo-gap detour leads to a shed chest holding an Oni Stone.
- The Higashioji Street Spirit Mirror unlocks on the way — your fast-travel anchor for the north.
- Across from the Rift’s entrance, an Oni Glyph chest contains Genma Note: Hitotsume Gasa — one of the 23 notes cataloged in the Genma Notes locations guide.
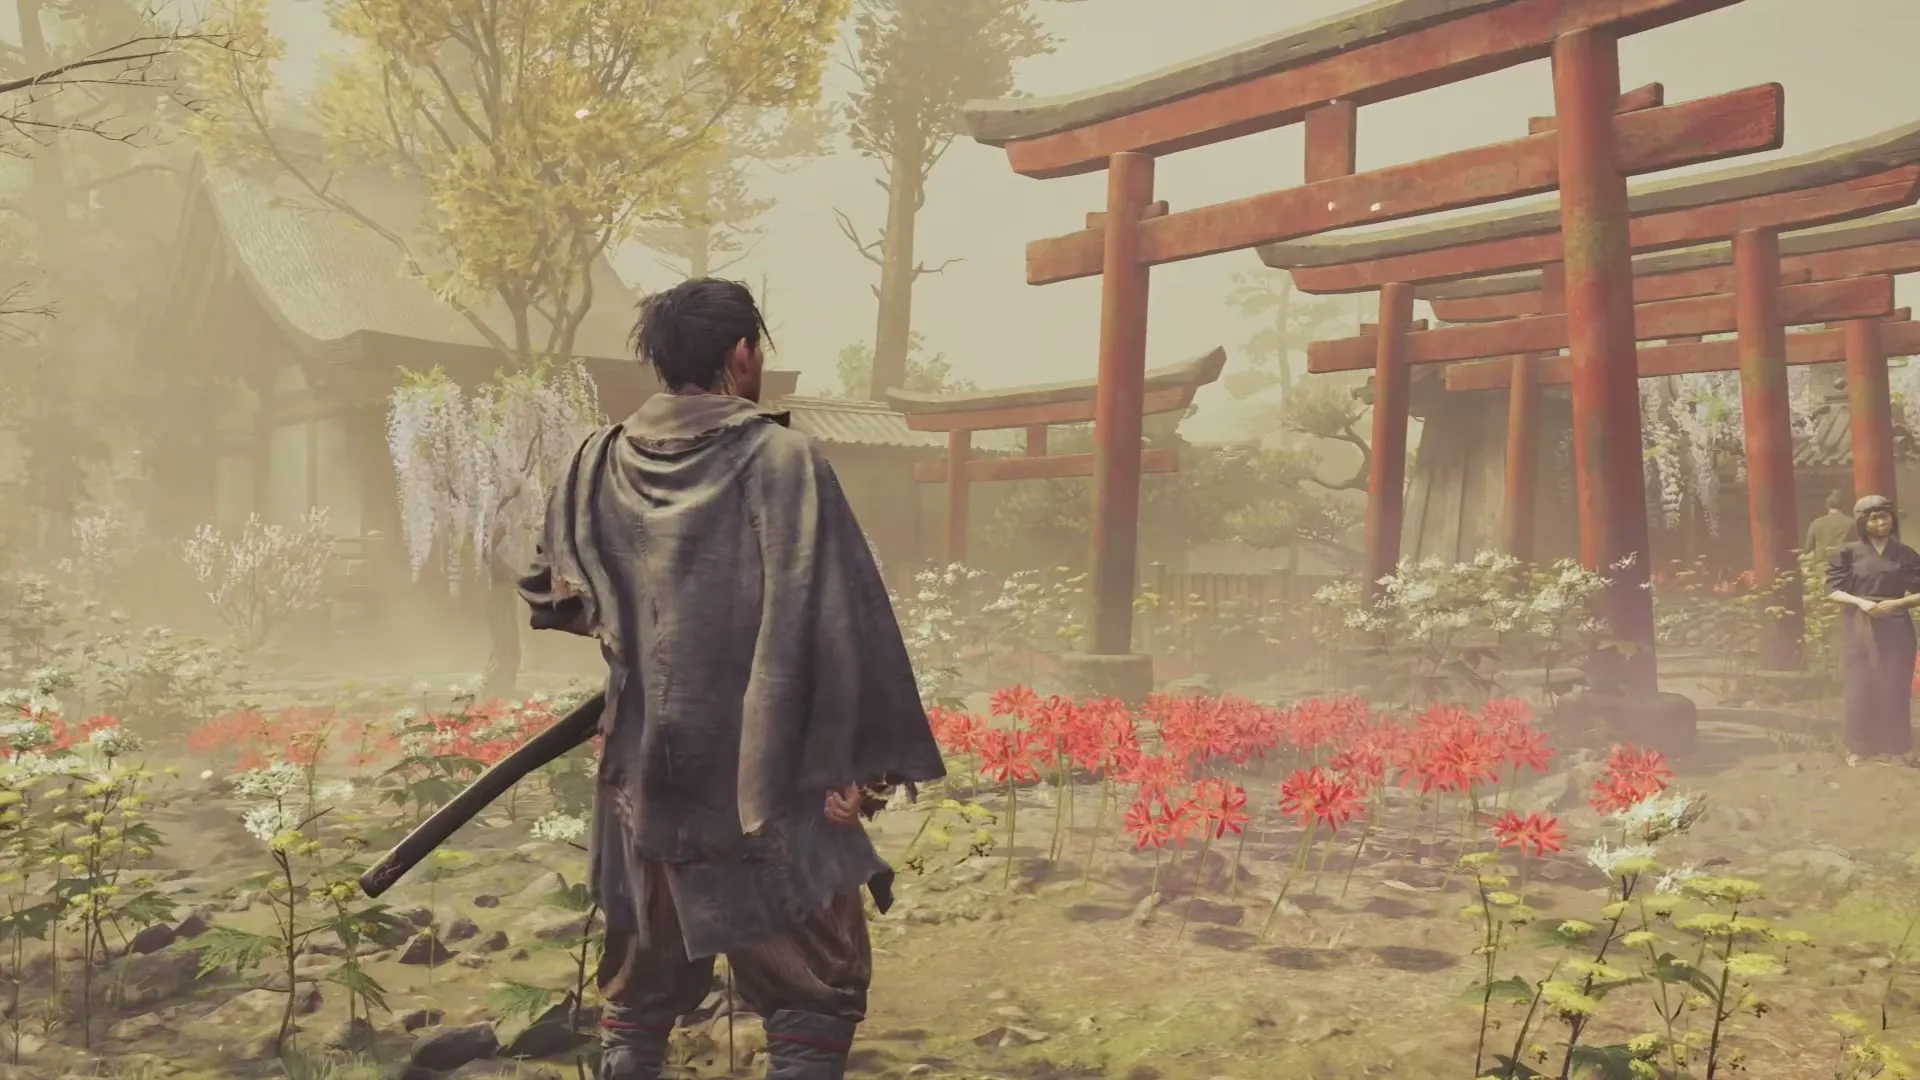
Midway sits the chapter’s strangest scene: an ethereal courtyard where citizens pray blissfully at a shrine that grants wishes — among them a woman without her fingers, an elderly man asking for relief from an ailing knee, and a couple walking in, wishing to spend eternity together. Remember this shrine; Careful What You Wish For is about it.
The northern Rift’s courtyard spawns the lizard Genma — spine-backed creatures that roll at you like wheels. Their spines count as weapons, so Parry deflects them into walls and other enemies; a stuck lizard dies instantly to Break Issen. Absorb the Rift when the yard clears.
Return to Takamura: Shizuka wakes
Back at the temple, the lowered Malice finally wakes the Gauntlet’s resident: Shizuka. In the shrine she tells how she came to be trapped — and delivers the campaign’s pivot: Hell has been taken over by Genma, led by the Man in White — a former Onimusha named Yoshitsune. The Man in White character page collects what the wiki has verified about him; the final confrontation lives on the Minamoto no Yoshitsune boss guide.
The next chapter is The Oni’s Apprentice.
What comes next
- Continue to The Oni’s Apprentice — enhancement, skill trees, and the Practice Ground.
- The walkthrough hub tracks every chapter page.
- Still healing-starved? The soul farming guide covers the Yellow Soul economy.
Related Articles

guides
Onimusha: Way of the Sword — All Outfits and How to Unlock Them
Every outfit in Onimusha: Way of the Sword and its unlock condition — story rewards, side content, pre-order and Deluxe bonuses.
guides
Onimusha: Way of the Sword — New Game+ and Post-Game Guide
What carries into New Game+ in Onimusha: Way of the Sword, what Carnage changes, and the post-game Boss Rematch mode.
guides
Onimusha: Way of the Sword — Side Content Guide: Mysteries and Chance Encounters
How the side-content systems of Onimusha: Way of the Sword work — 8 Mysteries of Kyoto and 18 Chance Encounters, and what they reward.
Was this helpful?
Thanks for the feedback!