Onimusha: Way of the Sword Walkthrough — Careful What You Wish For
Careful What You Wish For walkthrough — the wish-granting shrine, its grim clues, the three missing Stout Pillars, Rasho-gan, and the Oni Strength unlock.
FAQ
What is the wish-granting shrine?
Which Stout Pillars are missing?
What do you get for beating Rasho-gan?
What does this chapter reward?
Careful What You Wish For is the fifth story chapter of Onimusha: Way of the Sword, and it pays off the eerie shrine seeded in Kyoto, Corrupted: an investigation at the wish-granting Yasui Konpiragu Shrine, a fetch for three talking statues, and a six-armed boss whose fight unlocks the ability the red doors have been waiting for. Previous chapter: The Oni’s Apprentice.
Head north: gather the clues
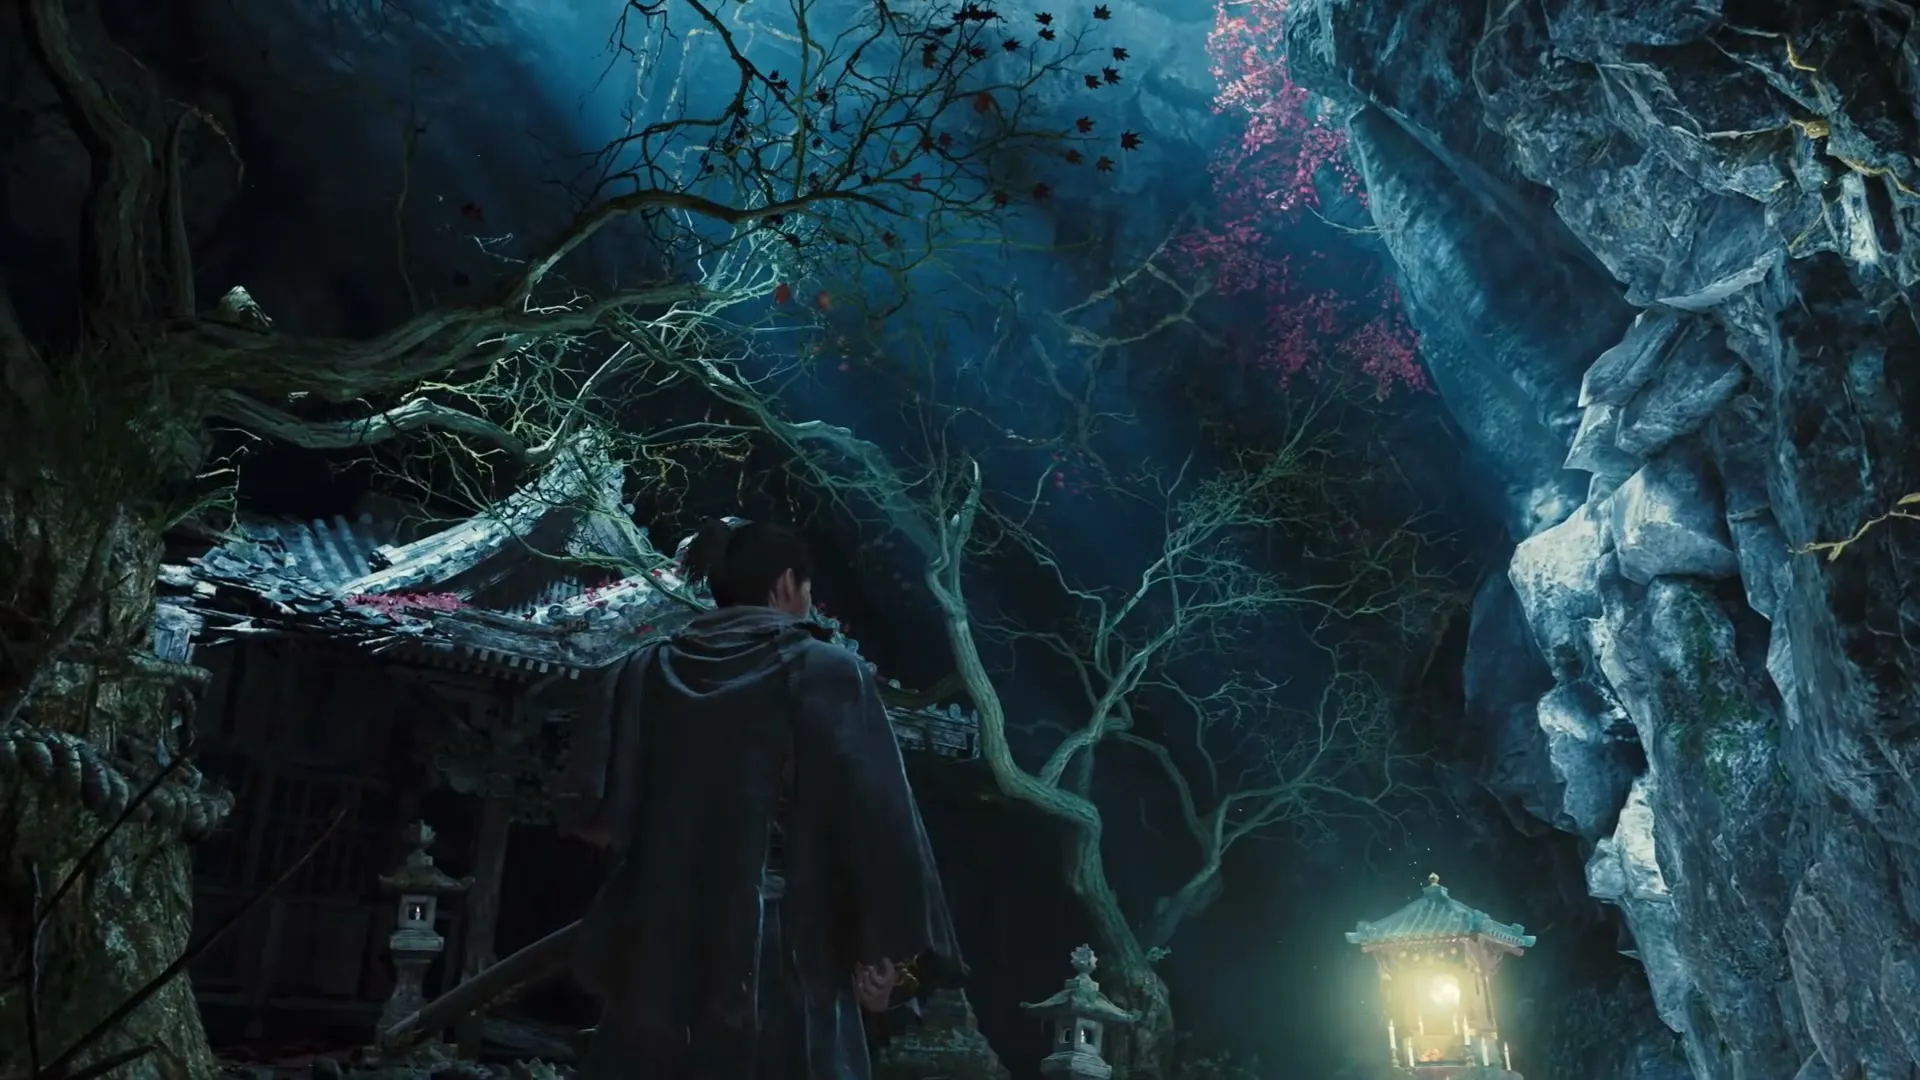
Of the three markers on the map, the northwest one sits behind miasma and the eastern one behind a Malice Barrier — the northeast it is. Following the road east and north, past Genma feeding piles and a blindfolded woman at a corner (the shrine’s earlier work — she prayed for relief from vanity and received it as the removal of her eyes), the “look for anything strange” objective resolves at the shrine she names: Yasui Konpiragu.
Inside, the too-bright grounds hold the chapter’s three clues:
- The one-legged man — the knee-pain complainer from Kyoto, Corrupted, now jovially minus most of his leg. The shrine cured his knee by taking it away.
- The tied statue — a man and woman bound together in red rope. Shizuka confirms the statues hold the souls of the couple who wished to spend eternity together.
- Yorimasa’s Monument — a stone pillar for an Oni hero who died in battle. Shizuka cannot detect his soul; the workaround is the Eight Stout Pillars, powerful statues who might lend their help.
The Eight Stout Pillars — five present, three missing
The northern torii leads to the Pillars’ shrine. Of the eight, only five remain: the wish-granting demon had the Genma hide the first, third, and seventh. All three land on your map — two east, one south.
- Seventh Pillar (east, first reachable): through the torch-marked doorway, clear the Genma, take the backyard ladder up the scaffolding — the Pillar is the one complaining about heights.
- First Pillar (east, second): back in the front yard, two Genma burst through a house wall; climb through the hole, up the attic ladder (the feasting Genma up there is a free stealth kill), out the roof hole, and the Pillar sits on the collapsed building across — with four Genma including a spiny one waiting below.
- Third Pillar (southwest, across from Rokudo Temple): through the stone-lamp-marked entrance, the room of gathered Genma is a Wind-Whipper showcase, then follow the complaining voice — “too dark to see” — to the pot beside the tree, and smash it.
Slash the lock off the property door on your way out each time.
Return the Pillars: the vision and the fight
Back at the shrine, the reunited Pillars condense the shrine’s Malice into a black mass beside the idol. Absorbing it replays the origin: a woman tired of playing the shamisen sacrificed her fingers to the Genma running the shrine — the fingerless woman from Kyoto, Corrupted. Then the vision steps into the present: the wish-granting Genma itself — Rasho-gan — comes for Musashi’s arm.
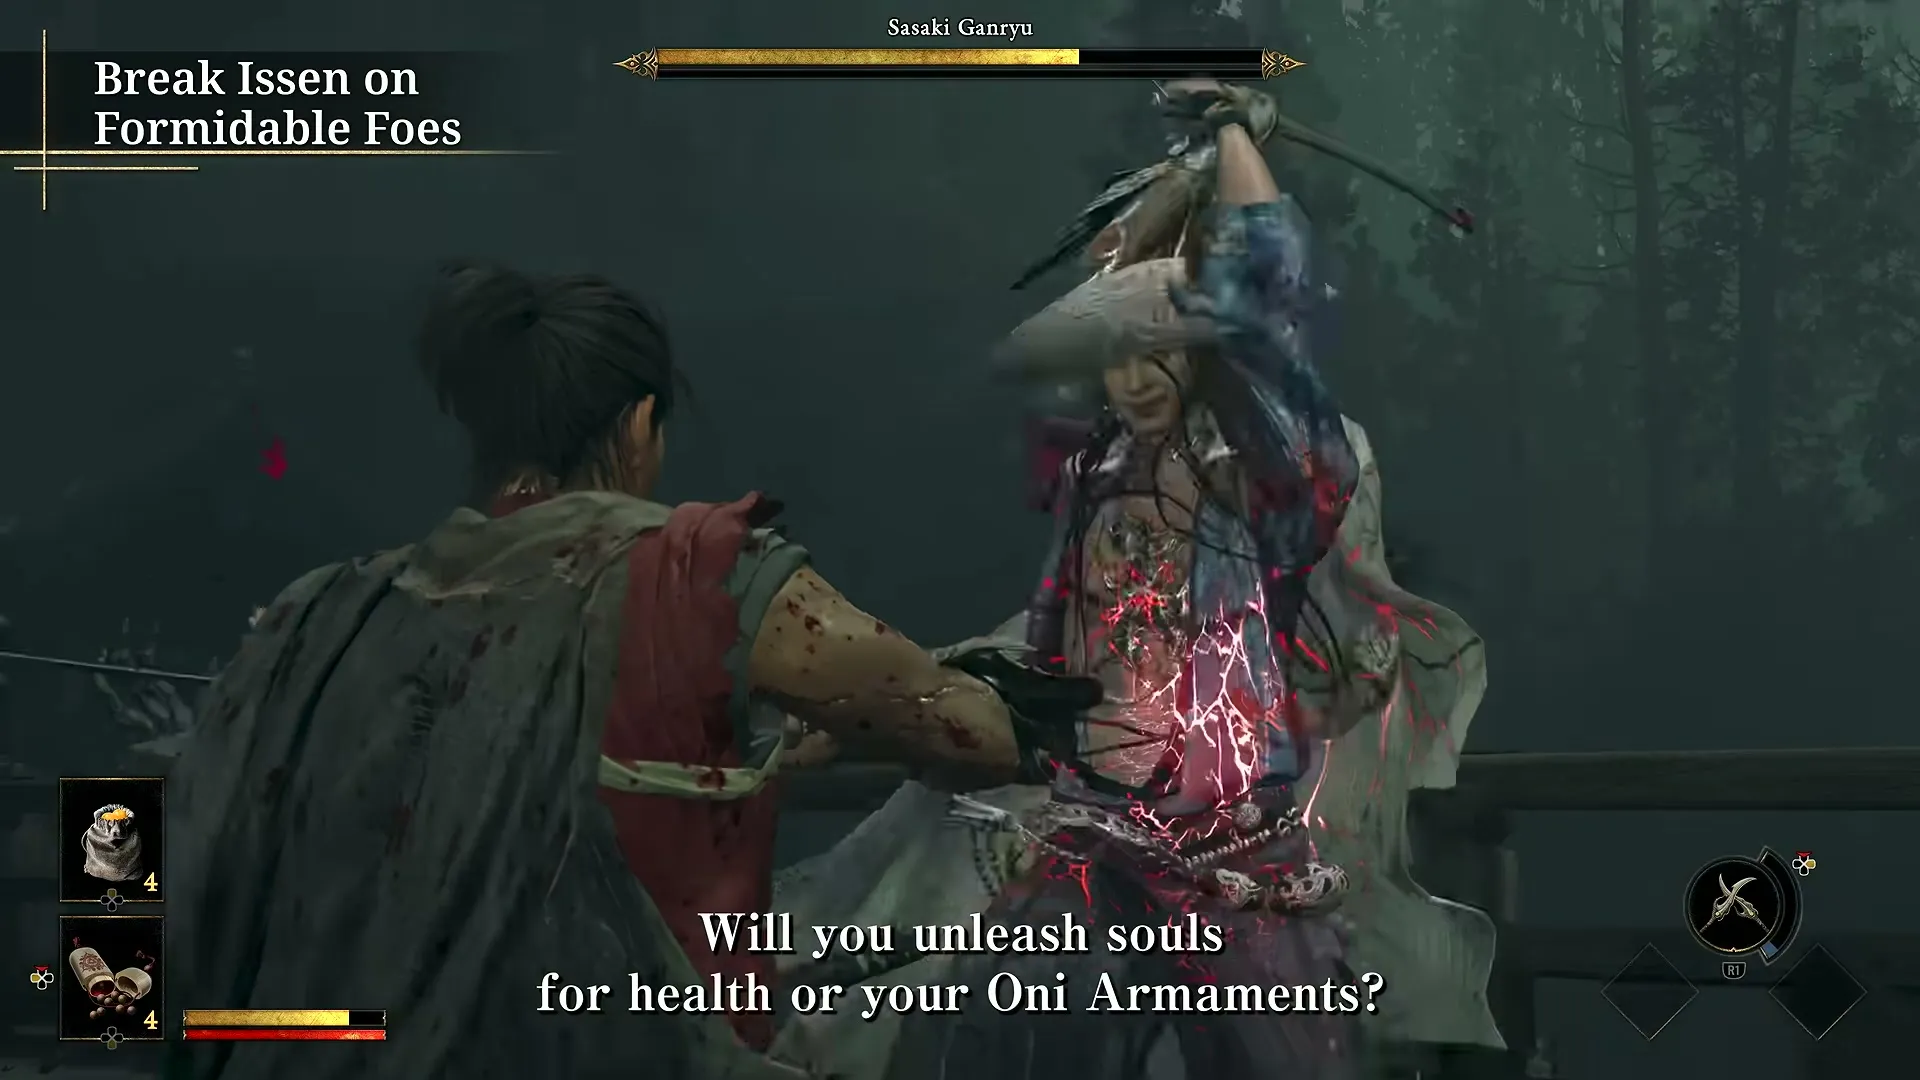
The fight’s headline mechanics: the red thread tying Rasho-gan to his idol (cut or shoot it before he empowers; he re-ties it over time), and Break Issen target choice — his head for damage, or his back limbs to permanently strip the moves they power. His full phase one and phase two counter list — Malice Balls, the empowered long-range grabs, the scissors phase — is on the Rasho-gan boss guide.
Aftermath: Oni Strength and Yorimasa’s Monument
The fleeing Rasho-gan is shot down by the spirit of Yorimasa, who finally joins the party. The payoff stack:
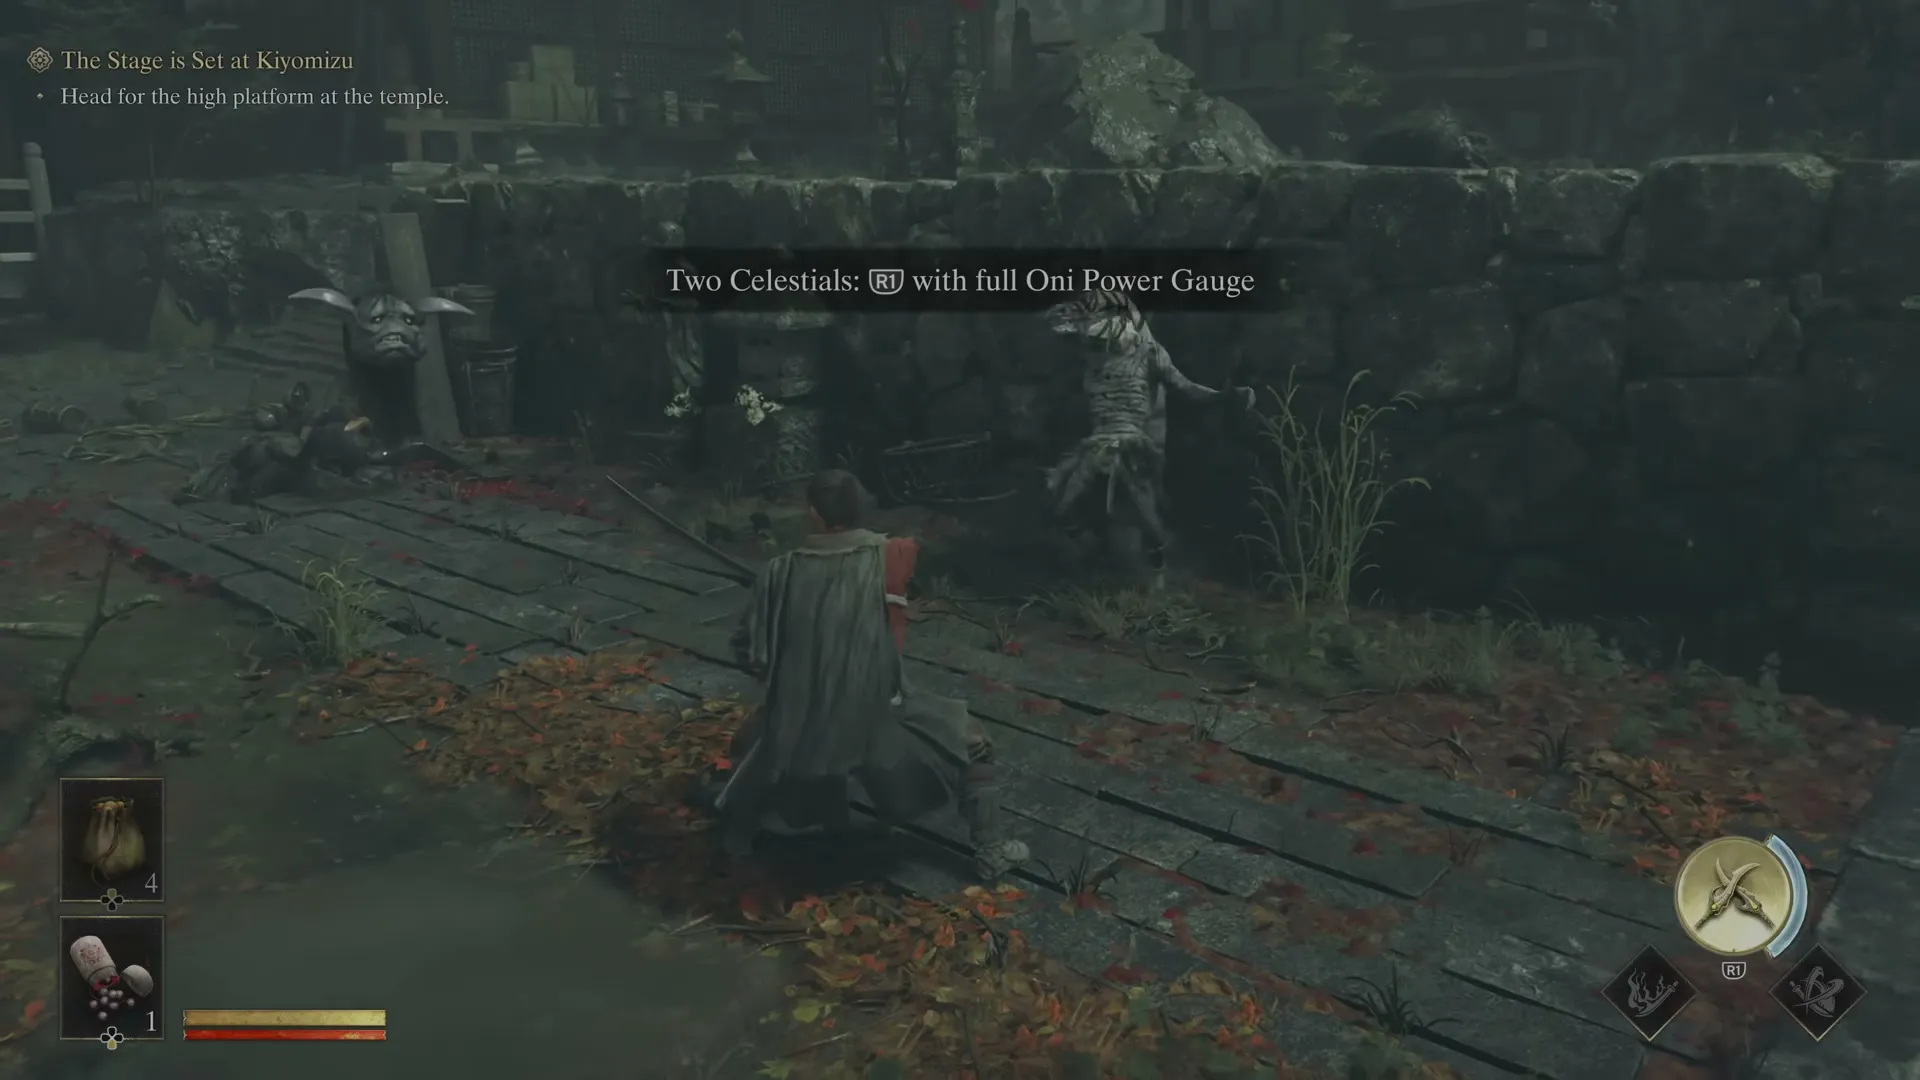
- Oni Strength — opens Malice Barriers (permanently, removing them from the map), breaks enemy armor, and staggers blocking enemies. The shield enemies appearing from here on are its designed target.
- Yorimasa’s Monument — unlocks at the shrine: trade Red Souls for recovery items and resources.
- Outside, the blindfolded woman has regained her senses — she is to become a shrine maiden, and Shizuka promises a later visit.
The next chapter is The Curse of Kiyomizu-zaka Slope — Oni Strength is its entry ticket.
What comes next
- Continue to The Curse of Kiyomizu-zaka Slope.
- The walkthrough hub and chapter list frame the campaign.
- The Oni Armaments guide covers the Wind-Whipper, which this chapter’s ambushes are built to showcase.
Related Articles

guides
Onimusha: Way of the Sword — All Outfits and How to Unlock Them
Every outfit in Onimusha: Way of the Sword and its unlock condition — story rewards, side content, pre-order and Deluxe bonuses.
guides
Onimusha: Way of the Sword — New Game+ and Post-Game Guide
What carries into New Game+ in Onimusha: Way of the Sword, what Carnage changes, and the post-game Boss Rematch mode.
guides
Onimusha: Way of the Sword — Side Content Guide: Mysteries and Chance Encounters
How the side-content systems of Onimusha: Way of the Sword work — 8 Mysteries of Kyoto and 18 Chance Encounters, and what they reward.
Was this helpful?
Thanks for the feedback!