Onimusha: Way of the Sword Walkthrough — The Stage is Set at Kiyomizu
The Stage is Set at Kiyomizu walkthrough — the temple approach, Oni Vision threads, The Two Celestials, the Oni Bow, the Oni Refuge, and two boss fights.
FAQ
Who are the bosses of this chapter?
What are the red threads blocking gates?
Which Oni Armaments do you get here?
What does this chapter reward?
The Stage is Set at Kiyomizu is the second story chapter of Onimusha: Way of the Sword and its first boss chapter. Musashi travels to Kiyomizu-dera Temple to purge its corruption, picking up two Oni Armaments, a new vision power, and two boss fights along the way. Boss tactics live on their own pages — this chapter guide covers the route, the unlocks, and where each fight sits. Start from the hub or the previous chapter, The Ruckus at Rendaino.
Travel to Kiyomizu-dera
Open the Spirit Mirror next to Okuni and Travel. At this point mirrors offer Travel, Storehouse, Save, Change Difficulty, and Additional Content; more functions unlock as the game goes on. The destination map centers on The Approach, the area’s first Spirit Mirror.
The temple approach
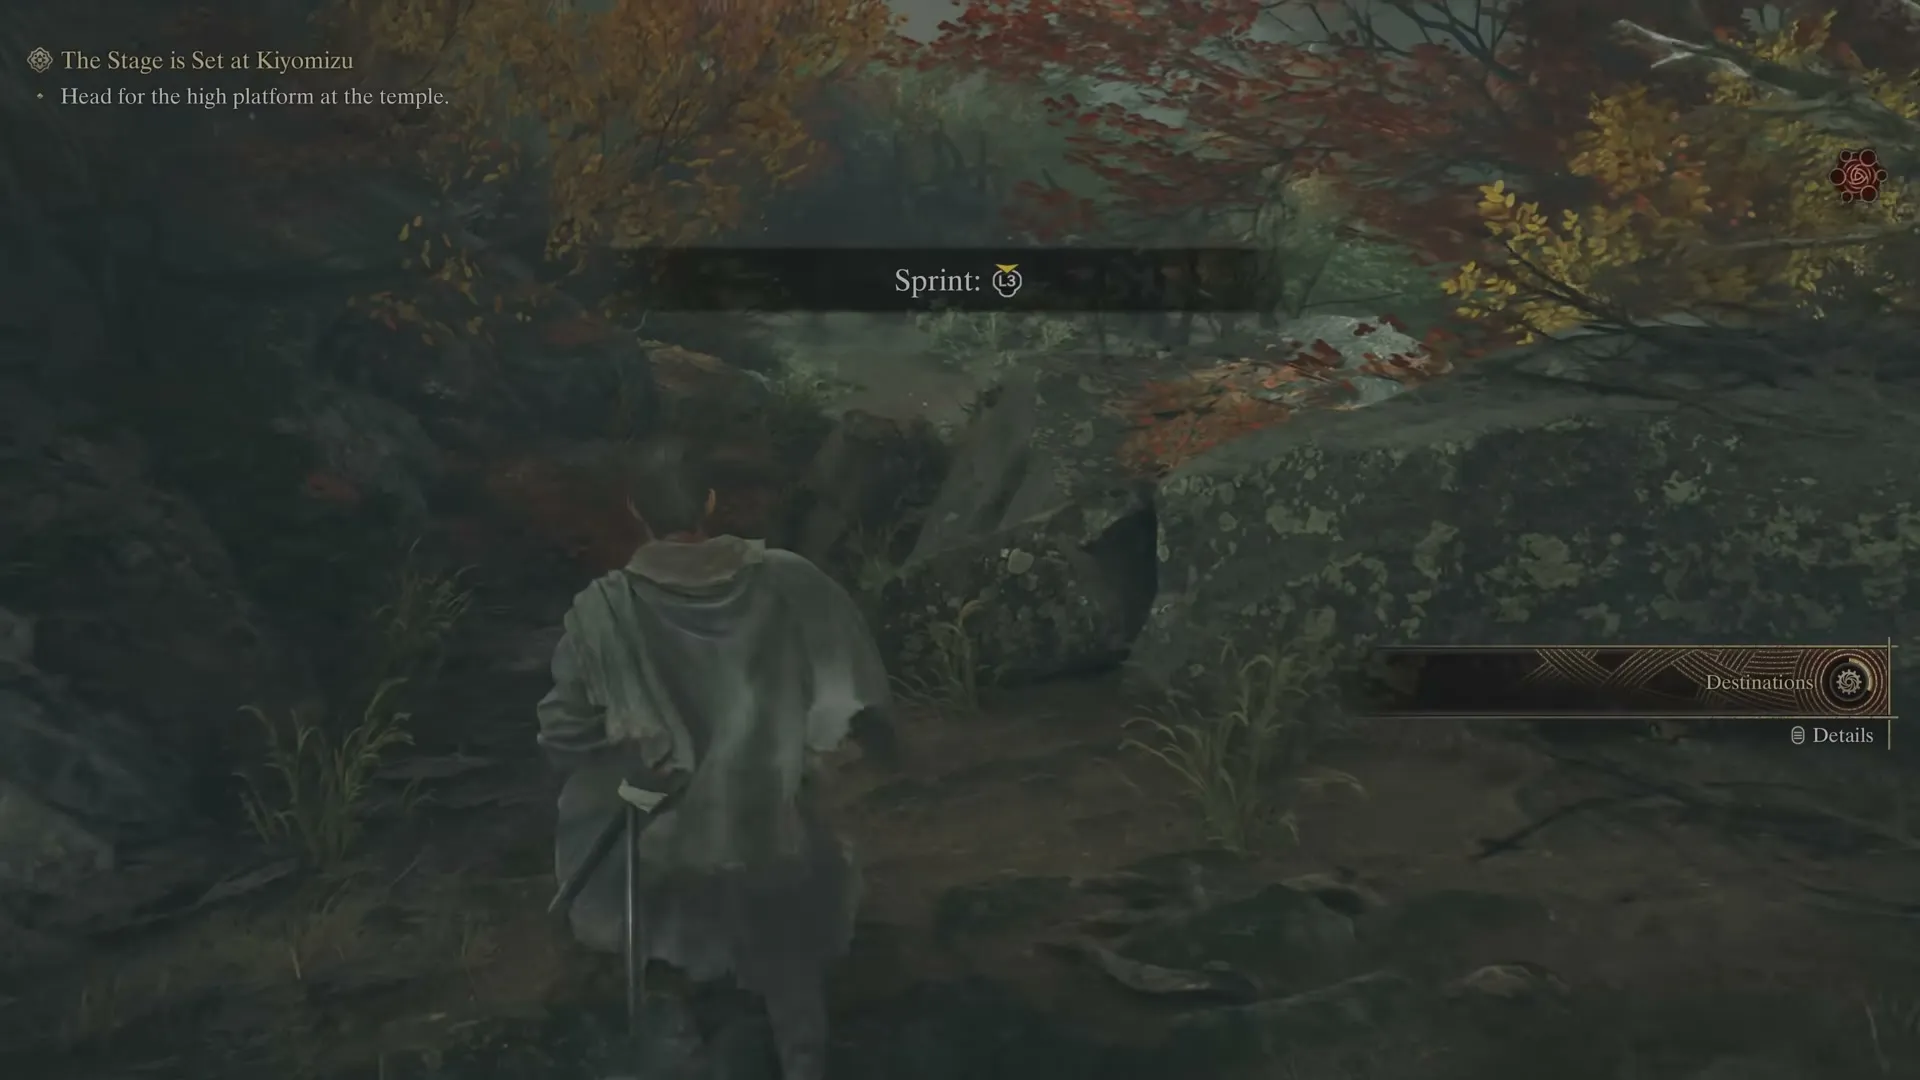
From the mirror the path winds uphill under torii gates — here the game teaches Sprint and hopping. The approach layers in the rest of the game’s traversal and combat systems:
- Red Souls — kills drop them; they cannot heal, but they buy enhancements and abilities later. Break Issen kills generate more of them.
- Genma archers — the first ranged enemy, met in the gravestone field. Listen for their call-out (subtitles help) and watch the red HUD arrows; they cannot be reached directly, so flank via the stairs. Archers are individually weak.
- Loot Boxes and chests — flash with a dull light; some sit off the main path. Usable items (talismans, restoratives) are equipped from a quick menu and used with one input.
- The map unlocks during the approach — flower-shaped mission icons, rewards preview, later custom markers.
- Malice Barriers (red doors) — two appear in this chapter and cannot be opened yet; the ability arrives in Careful What You Wish For.
- Stealth kills — approach an unaware enemy from behind until the X-shaped prompt appears for an instant kill.
- Blade Lock — mash the attack input to win the strength contest; it recurs in boss fights.
Enter the temple: Oni Vision and the red threads
At the trail’s end, the Nio-mon Gate Spirit Mirror unlocks. Inside, absorbing a black shadow mass triggers a vision of shadow figures hauling barrels toward the stage. The Gauntlet flashes to introduce Oni Vision: hold the Gauntlet absorb input, tap the Oni Power input, and hidden things appear.
The temple’s great gate is webbed shut by red threads — each anchored by a spider-like Genma. Oni Vision reveals the thread; follow it and kill the spider to break the barrier. The big gate past the grounds needs two spiders cleared:
- Thread one’s spider hides inside a small building right of the gate, behind a path the thread initially blocks — go around through the two large buildings.
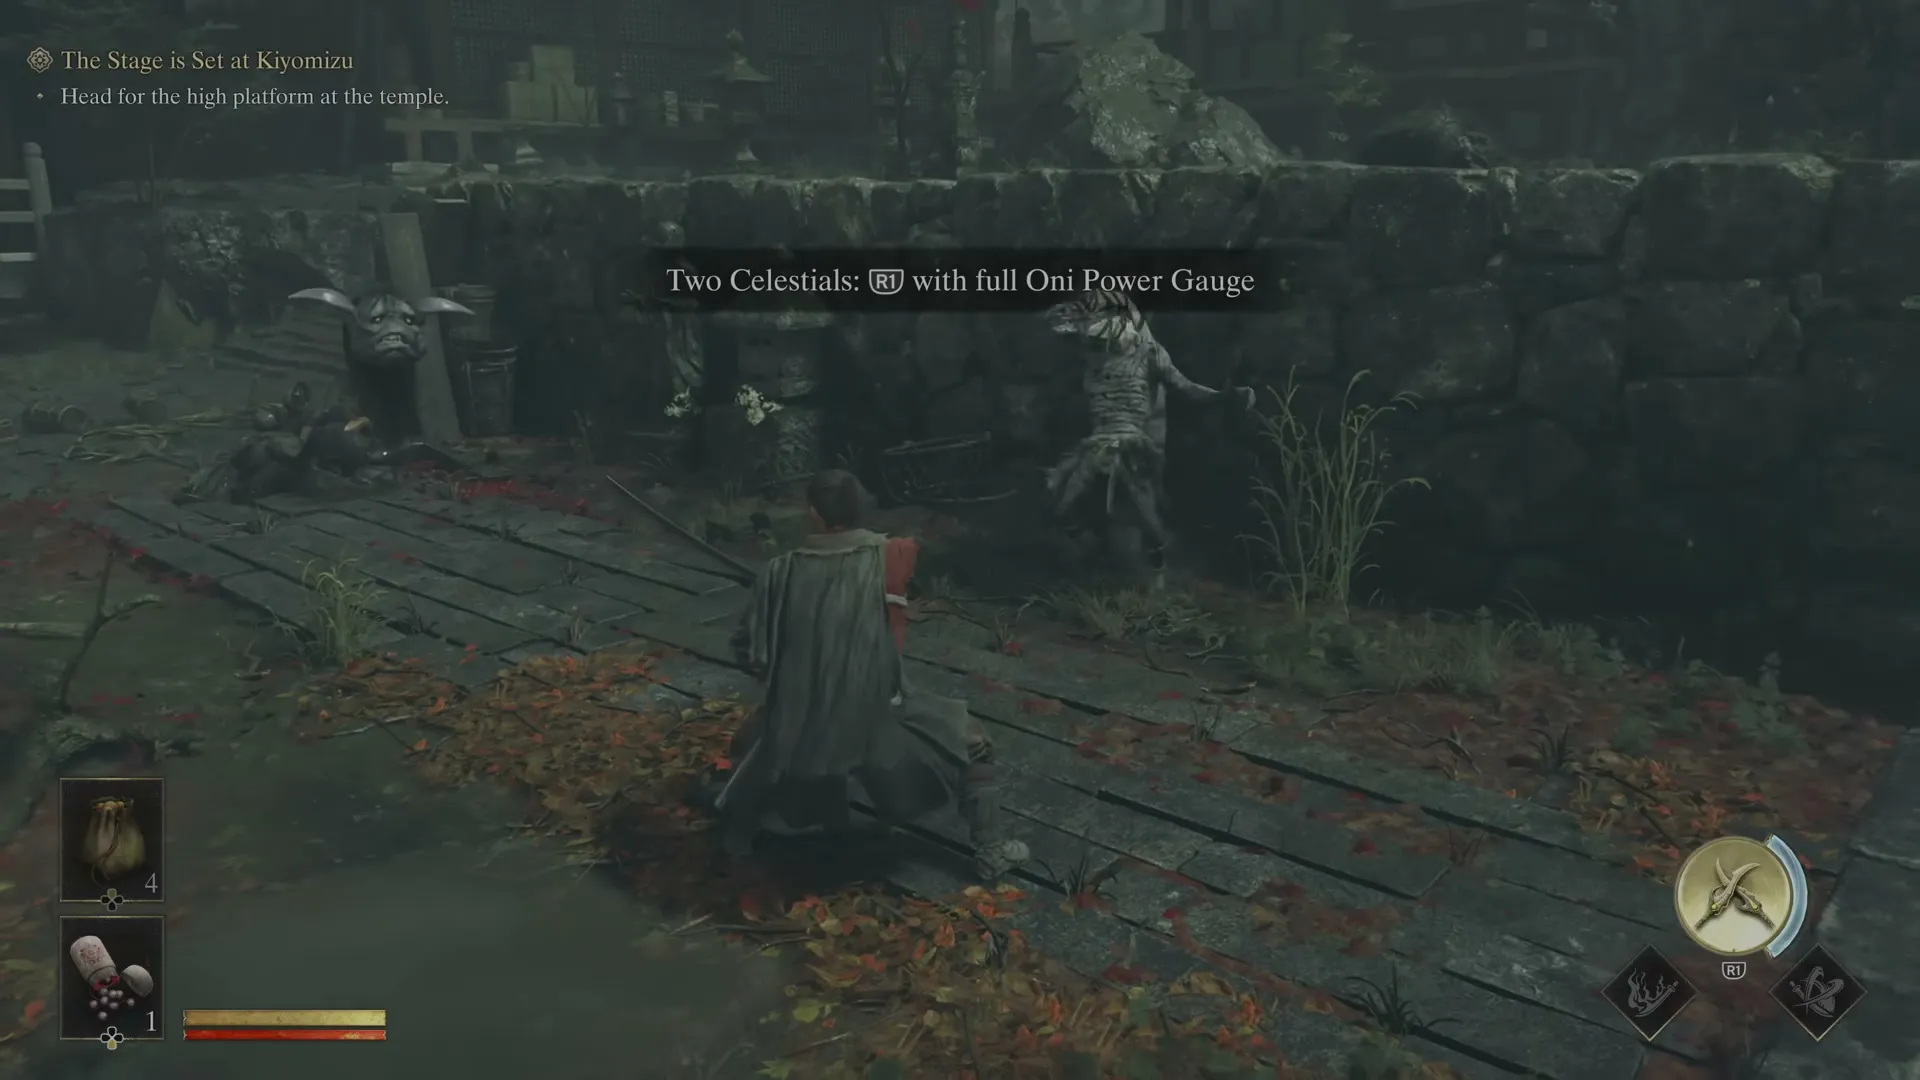
- Thread two’s spider sits in a building whose thread climbs the roof, then down through a house interior (a feasting Genma inside is a free stealth kill) and out a locked metal door — smash it with the sword — into a cliff crack and a cave. Kill the spider and open the web-bound chest beside it: The Two Celestials, your first Oni Armament — golden dagger spirits fired with a shoulder button when the Oni Power gauge is full, bursting Yellow Souls on hit. The armament system and every weapon’s location are cataloged in the Oni Armaments guide.
Back at the gate, the return trip adds a stronger cleaver-wielding Genma — a stamina lesson, and a first live target for the Two Celestials.
The High Platform: Sasaki Ganryu
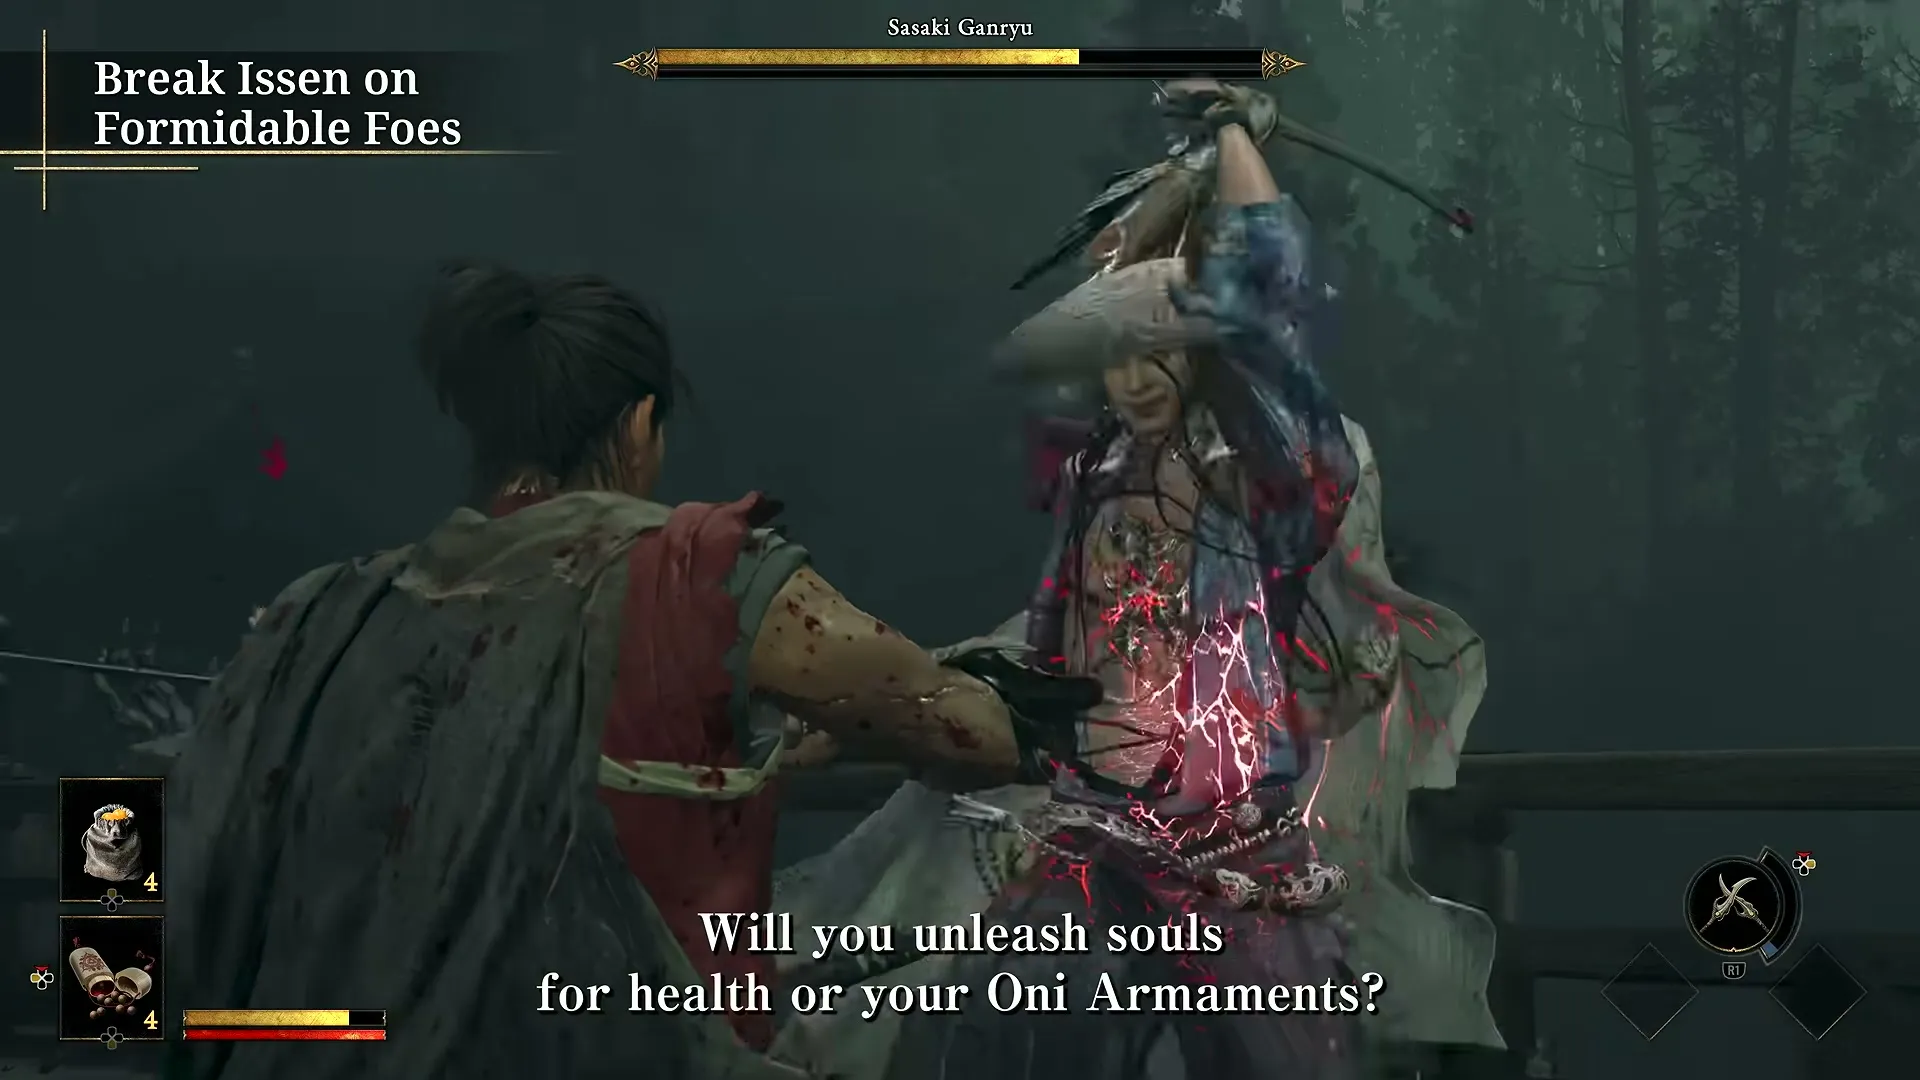
The threads cleared, activate the Temple Grounds Spirit Mirror and step onto the stage. Absorbing another black mass plays a vision of the temple’s people forced to sacrifice their own — and Sasaki Ganryu returns, now wearing his own Oni Gauntlet, for the rematch his Prologue cameo promised.
This is the campaign’s first true boss encounter in story order: a self-contained arena, enlarged health and Stamina bars under the boss’s name, phase transitions, and the Break Issen finish. The full move-by-move counter list — Leaping Slash, Leaping Kick, the dash series, the stabs, and his gray-skinned second phase with the kick-grab — lives on the Sasaki Ganryu boss guide. The cutscene after his loss introduces the Man in White’s soul-eating bargain and sets Ganryu up as a recurring rival.
Below the stage: the Oni Glyph and the Oni Refuge
The mission continues below the temple stage, where a vision reveals the massive Genma Daidara eating the sacrificed victims. Here the game teaches Oni Glyphs: Oni Vision reveals the glyph, and interacting summons strange constructs — this one a giant golden eyeball that warps Musashi into the Oni Refuge.
In the Refuge:
- Activate the Hall in the Oni Refuge Spirit Mirror.
- The gold-and-black chest in the cave hall holds the Oni Bow — hold to draw, release through the flash for full damage. It answers archers, detonates explosives, and solves the area’s red-orb puzzle blocks. (It too is in the Oni Armaments guide.)
- Shrine door lock — shoot the inner lock with the bow through the back side for a Cotton Cloth chest.
- Puzzle blocks — arrows to the flashing red orb shift platforms and open doors.
- Floating Rock Cores — shoot the glowing yellow core to drop the rock on whatever is beneath; the game later stages ambushes under them on purpose.
- A floating-platform chest (raise the block beside the wall gap) holds a Power Stone — the currency the skill trees run on; the stones locations guide tracks them all.
The Oni Gate: Daidara
The Refuge exit runs past Daidara’s boulder barrage to the Shrine Grounds Spirit Mirror by a waterfall, and then through the Oni Gate into the chapter’s second boss fight. Daidara is a massive, armored, gluttonous Genma with a corpse-tangled club — armor on legs, head, and left shoulder that a fully charged Oni Bow arrow (or a leg-targeted Break Issen) strips off; he empowers himself on loose souls and can enter a Blazing State mid-fight. His complete move list and counters are on the Daidara boss guide.
With Daidara dead, the woman in the Gauntlet appears for the first time — briefly: removing the Gauntlet would kill Musashi, and his task list is not done. She asks to be called Shizuka — and sends him back to Takamura. The next chapter is Kyoto, Corrupted.
Chapter rewards and links
Per IGN’s walkthrough the chapter pays out Whetstone, Iron, Fine Silk Cloth, and the Charm of the Healer — the charm’s 4% healing boost and its upgrade path are covered with all the others in the charms guide. Continue with Kyoto, Corrupted, or revisit the walkthrough hub and the chapter list.
Related Articles

guides
Onimusha: Way of the Sword — All Outfits and How to Unlock Them
Every outfit in Onimusha: Way of the Sword and its unlock condition — story rewards, side content, pre-order and Deluxe bonuses.
guides
Onimusha: Way of the Sword — New Game+ and Post-Game Guide
What carries into New Game+ in Onimusha: Way of the Sword, what Carnage changes, and the post-game Boss Rematch mode.
guides
Onimusha: Way of the Sword — Side Content Guide: Mysteries and Chance Encounters
How the side-content systems of Onimusha: Way of the Sword work — 8 Mysteries of Kyoto and 18 Chance Encounters, and what they reward.
Was this helpful?
Thanks for the feedback!