Minamoto no Yoshitsune — Way of the Sword Final Boss Guide
How to beat Minamoto no Yoshitsune, the final boss of Onimusha: Way of the Sword: three phases, the phase-three damage rule, and the loadout to bring.
FAQ
How hard is the final boss in Way of the Sword?
How many phases does Yoshitsune have?
How do I damage Yoshitsune in phase three?
What should I bring to the final boss?
This is the final boss guide for Minamoto no Yoshitsune in Onimusha: Way of the Sword — fight 18 of 18, the last obstacle between you and the credits, and the fight behind the Truly, Thank You trophy on the Platinum roadmap.
The fight at a glance
| Stat | Value |
|---|---|
| Roster position | Fight 18 of 18 — the final boss |
| Location | The Clash At Rendaino — the final mission |
| Phases | 3 |
| Difficulty (PowerPyx) | 8.5/10 — hardest and longest fight in the game |
| Trophy | Truly, Thank You |
The loadout to bring
PowerPyx recommends rationing a specific consumable set before stepping in — you can carry a maximum of two of each, except the Sun-Dried Hozuki, which is capped at one:
- Amulet of Introspection — widens the window for Issen counters and parries
- Stimulant — refills the Awakening Gauge over time
- Sun-Dried Hozuki — restores your Hozuki Pouch to three health charges
- Greater Defense Talisman — cuts incoming health and stamina damage
- Greater Might Talisman — boosts outgoing health and stamina damage
- Heavy Restoratives — the fallback once Hozuki charges run out
Hold all of them until the second half of phase two and all of phase three. For charms, the same guide’s Yoshitsune-specific build maxes the Charm of Awakening, Charm of Oni Power and Fencer’s Strength Charm — all three covered in the charms guide, and all three reward the same side-content sweep as the rest of the trophy roadmap.
Phase one: the katana duel
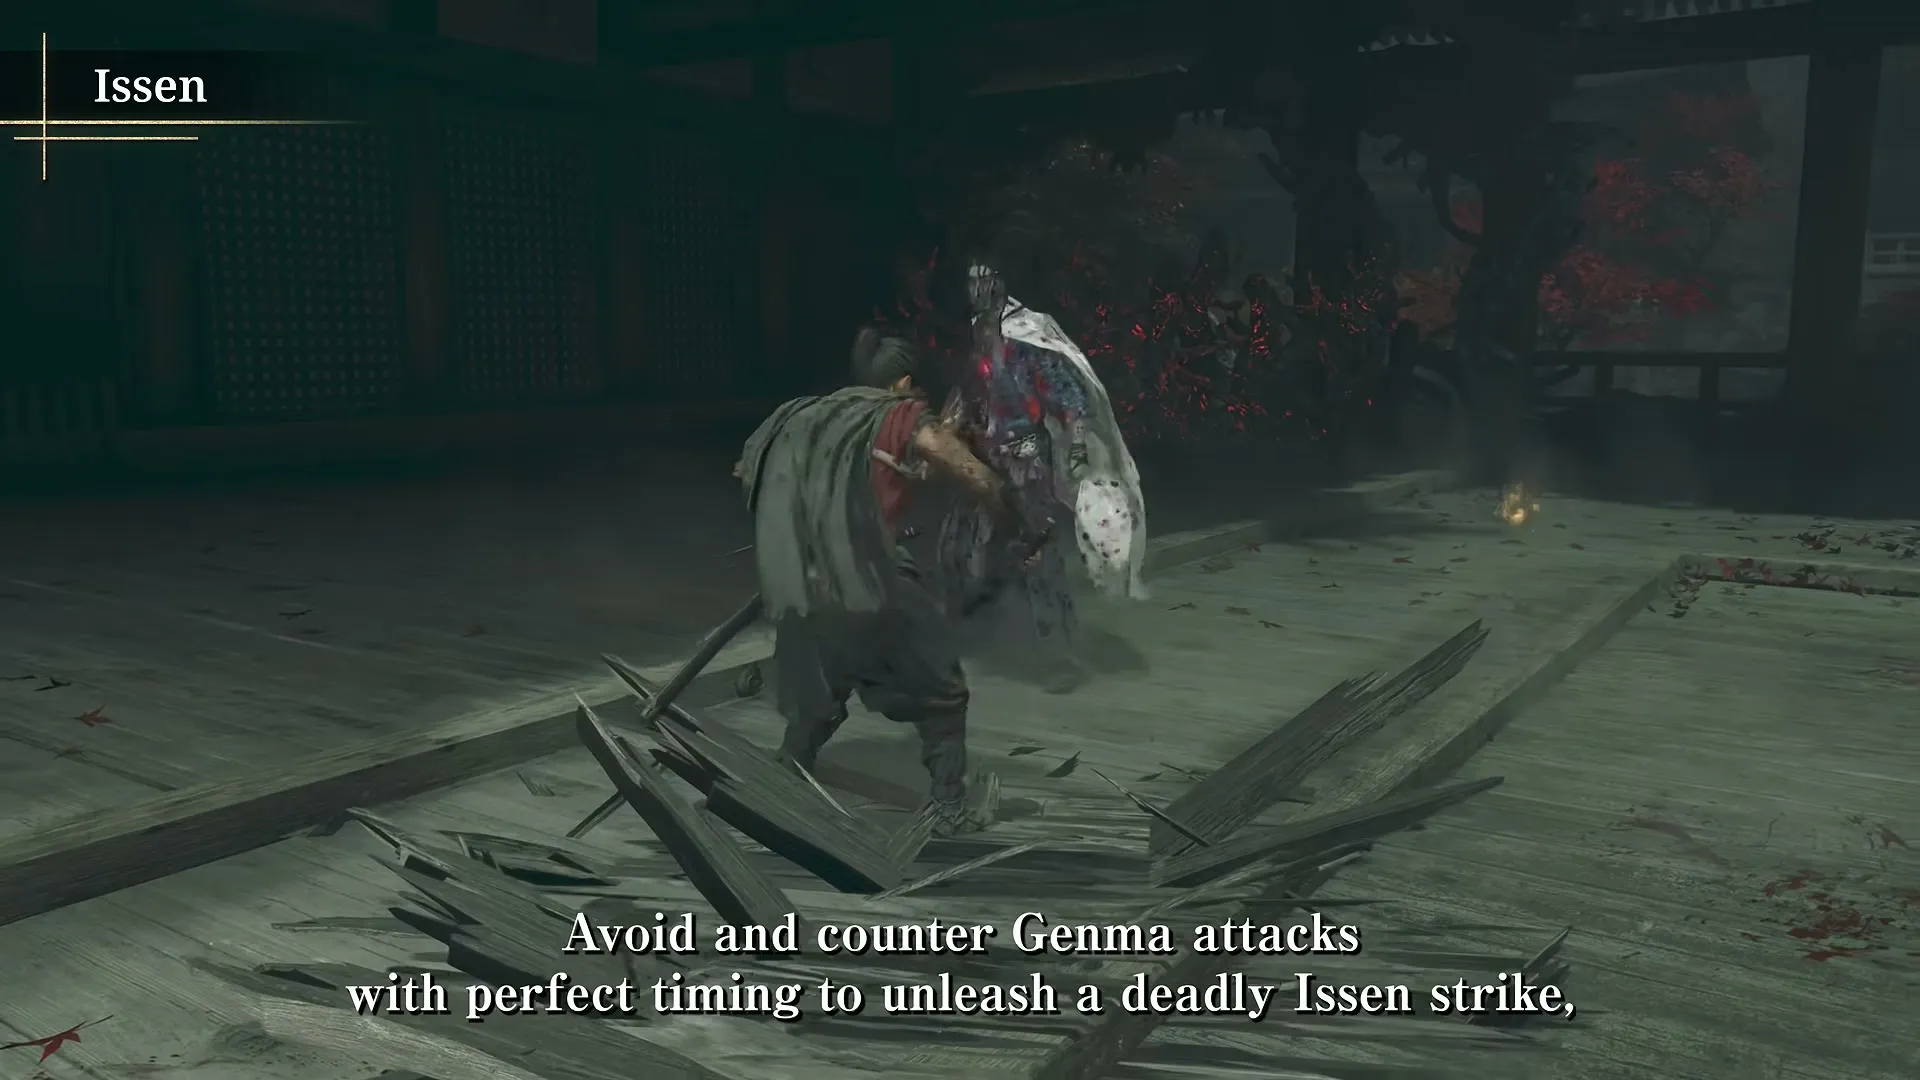
Phase one leans on straightforward one-on-one katana attacks, and most of them are easily deflected — the Issen explainer is the mechanical backbone of everything below.
- The double-leg kick. He leaps and kicks with both legs at once. Play it safe with a deflect or parry — or, if confident, a perfect dodge or Issen counter, which knocks him to the ground and opens free hits.
- White-glowing slashes. Deflect or parry only — dodging does not work against them. Most notable is a combo of three massive white-glowing katana slashes: dodge them from a distance, deflect them up close, adapting to your positioning.
- The hand-grab. A slightly delayed grab that must be avoided at all costs — if it connects he siphons a large number of your souls and shifts into an enhanced state, wreathing his katana in Malice.
- The shoulder tap. The instant he taps his katana against his shoulder, a lightning-fast dash-slash thrust follows. Treat the tap as the cue to parry. This attack recurs across all three phases.
Phase two: the armor
Phase two always opens the same way: he leaps airborne and slams into the ground, and the ground cracks open beneath you. The instant you regain control, sprint as far away as possible — that clears both the slam and the crack.
From there the fight changes shape:
- He is fully armored. Regular attacks will not dent his stamina bar at all. His armor can technically be shattered with the dedicated armor-break input, but PowerPyx advises against leaning on it — he moves too quickly to strip pieces reliably. Deflecting and dodging remain the bread and butter.
- Lean on deflects, not Issen counters. He is considerably more mobile on the ground and in the air; deflects are slower but far more reliable.
- Arrow volleys. He leaps skyward and looses arrows — sometimes from both sides at once — all deflectable.
- The rapid white-glowing chain. Three fast white-glowing attacks that demand razor-sharp timing to deflect in full. On Carnage, letting even one connect is close to an instant kill.
- The hand-grab, upgraded. Up close it plays as in phase one; from range he warps in before grabbing, making it far harder to read.
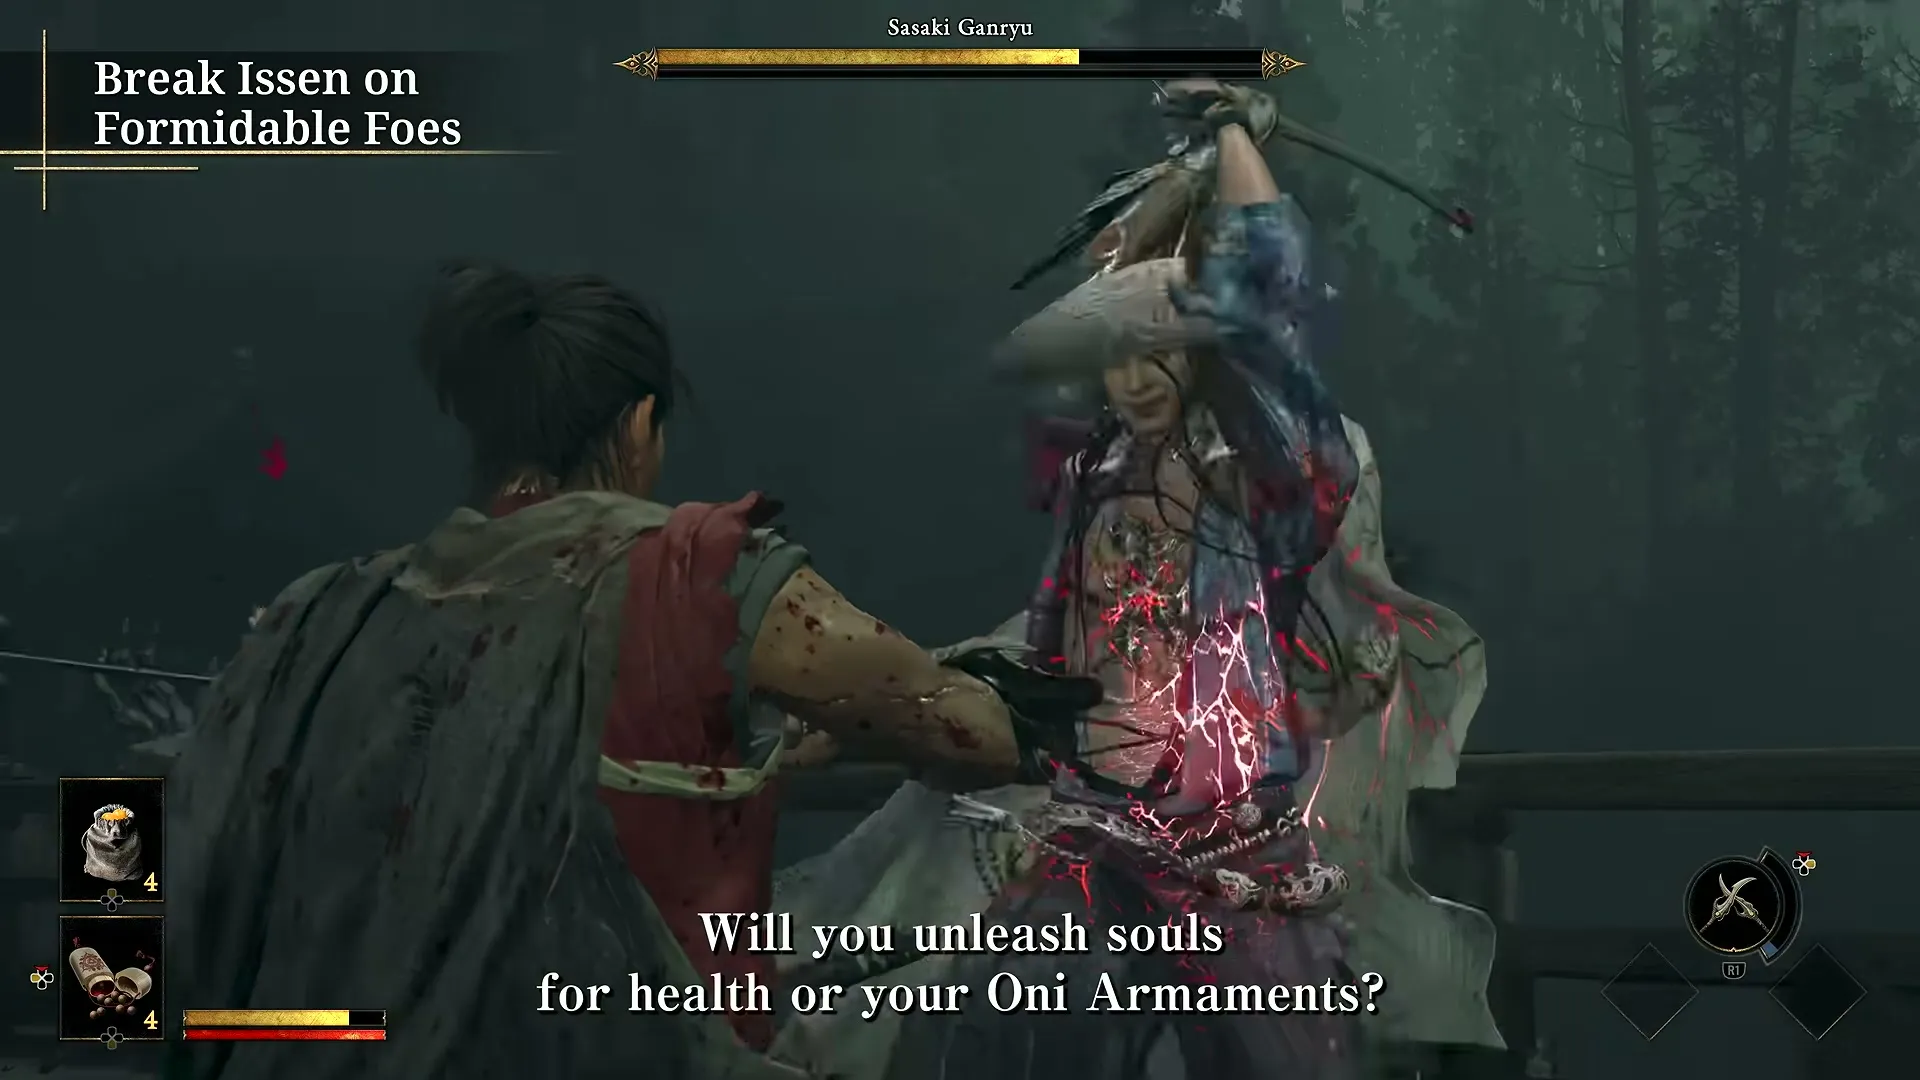
- The soul choice. Whenever you deplete his stamina, you choose red or purple souls — take purple to build your Oni Power and Oni Awakening gauges fast. Unleashing an Oni Armament nets even more purple souls, and Issen counters land noticeably easier once transformed.
- “Shatter”. He shouts it and tears at the fabric of reality — sidestep or perfect-dodge just before it shatters. The same read applies when he cracks open the ground beneath you instead.
Phase three: the damage rule
Phase three rewires the fight: he cannot be damaged by any attack unless you are in your Oni Awakening state. His attack set stays largely consistent with phase two, but without one of the two soul engines below, nothing you do gets through:
- The Issen route — chain as many counters as you can, racking up blue and purple souls quickly.
- The Blazing route — fill the Blazing Gauge with parries, unload in Blazing State to extract the blue souls that fuel Oni Power; once Oni Power is ready, use it to extract purple souls as well.
Two more rules close the fight out:
- The soul vacuum. He periodically pulls you toward him as he absorbs every soul in the arena — grab as many souls as you can too, because the pull ends in a devastating arena-wide slash. Dodge it outright or counter it with Issen; eating it is essentially game over.
- Spend the Awakening right. The moment the gauge fills, transform, land Issen counters while transformed, and hold the finisher until the gauge is nearly spent — the finisher lands considerably more hits and damage that way.
That loop — vacuum, grab souls, transform, counter, finisher — is the rest of phase three, and the fight.
Where this sits on the road
Yoshitsune is the last entry in the boss list, and beating him on Carnage is only one leg of the Platinum: the True Onimusha clear and the Glutton for Punishment Boss Rematch sweep still follow on the trophy roadmap. If phase two’s armor rules are eating you alive, the difficulty settings explainer covers what changes between Action and Carnage — PowerPyx recommends learning this fight on Action first.
Related Articles

guides
Onimusha: Way of the Sword — All Outfits and How to Unlock Them
Every outfit in Onimusha: Way of the Sword and its unlock condition — story rewards, side content, pre-order and Deluxe bonuses.
guides
Onimusha: Way of the Sword — New Game+ and Post-Game Guide
What carries into New Game+ in Onimusha: Way of the Sword, what Carnage changes, and the post-game Boss Rematch mode.
guides
Onimusha: Way of the Sword — Side Content Guide: Mysteries and Chance Encounters
How the side-content systems of Onimusha: Way of the Sword work — 8 Mysteries of Kyoto and 18 Chance Encounters, and what they reward.
Was this helpful?
Thanks for the feedback!